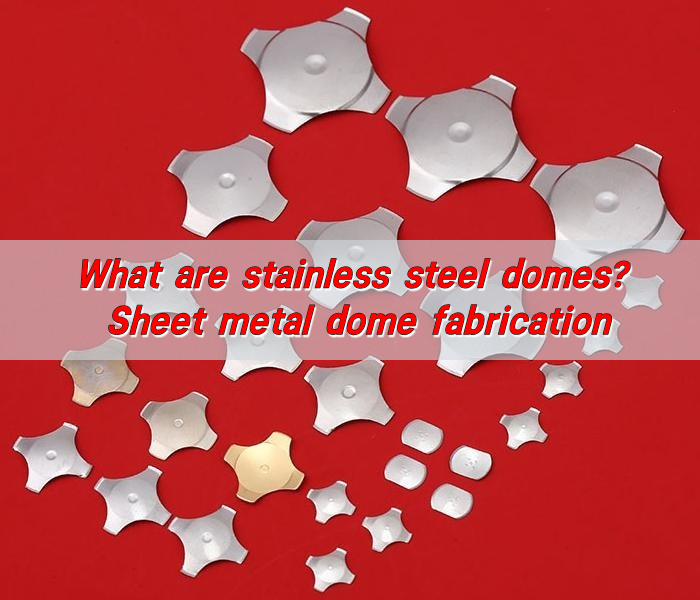
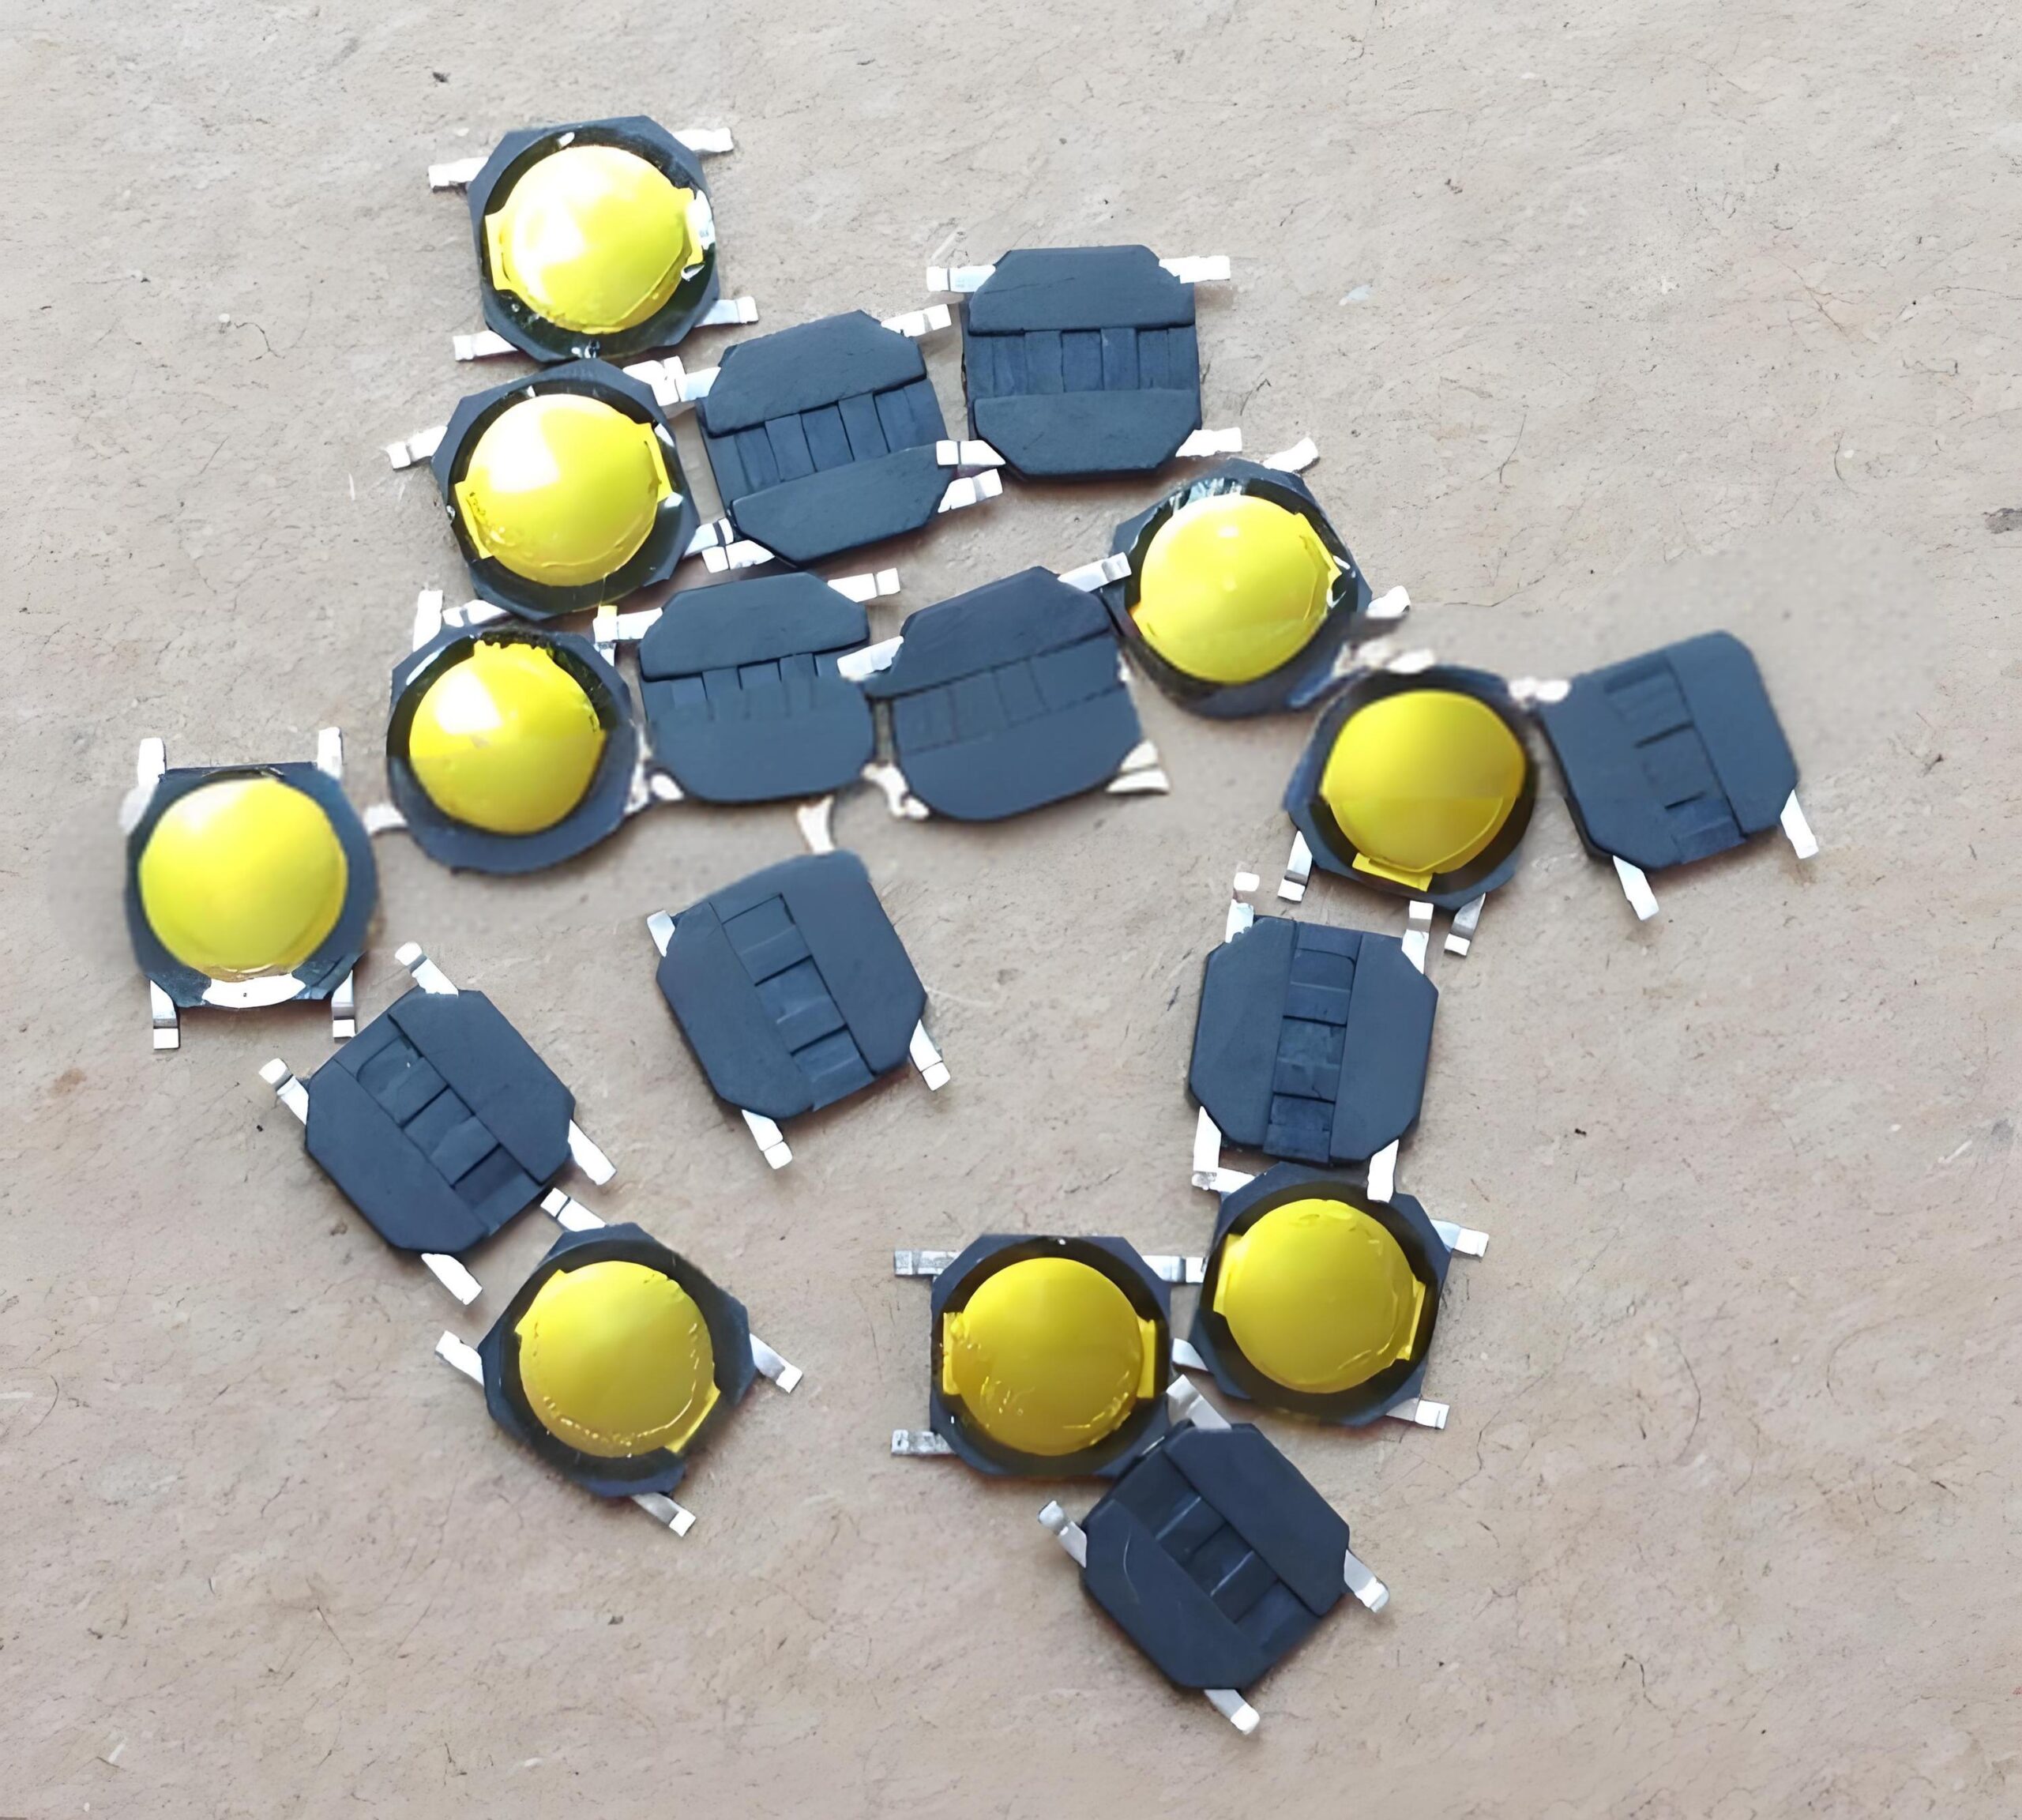
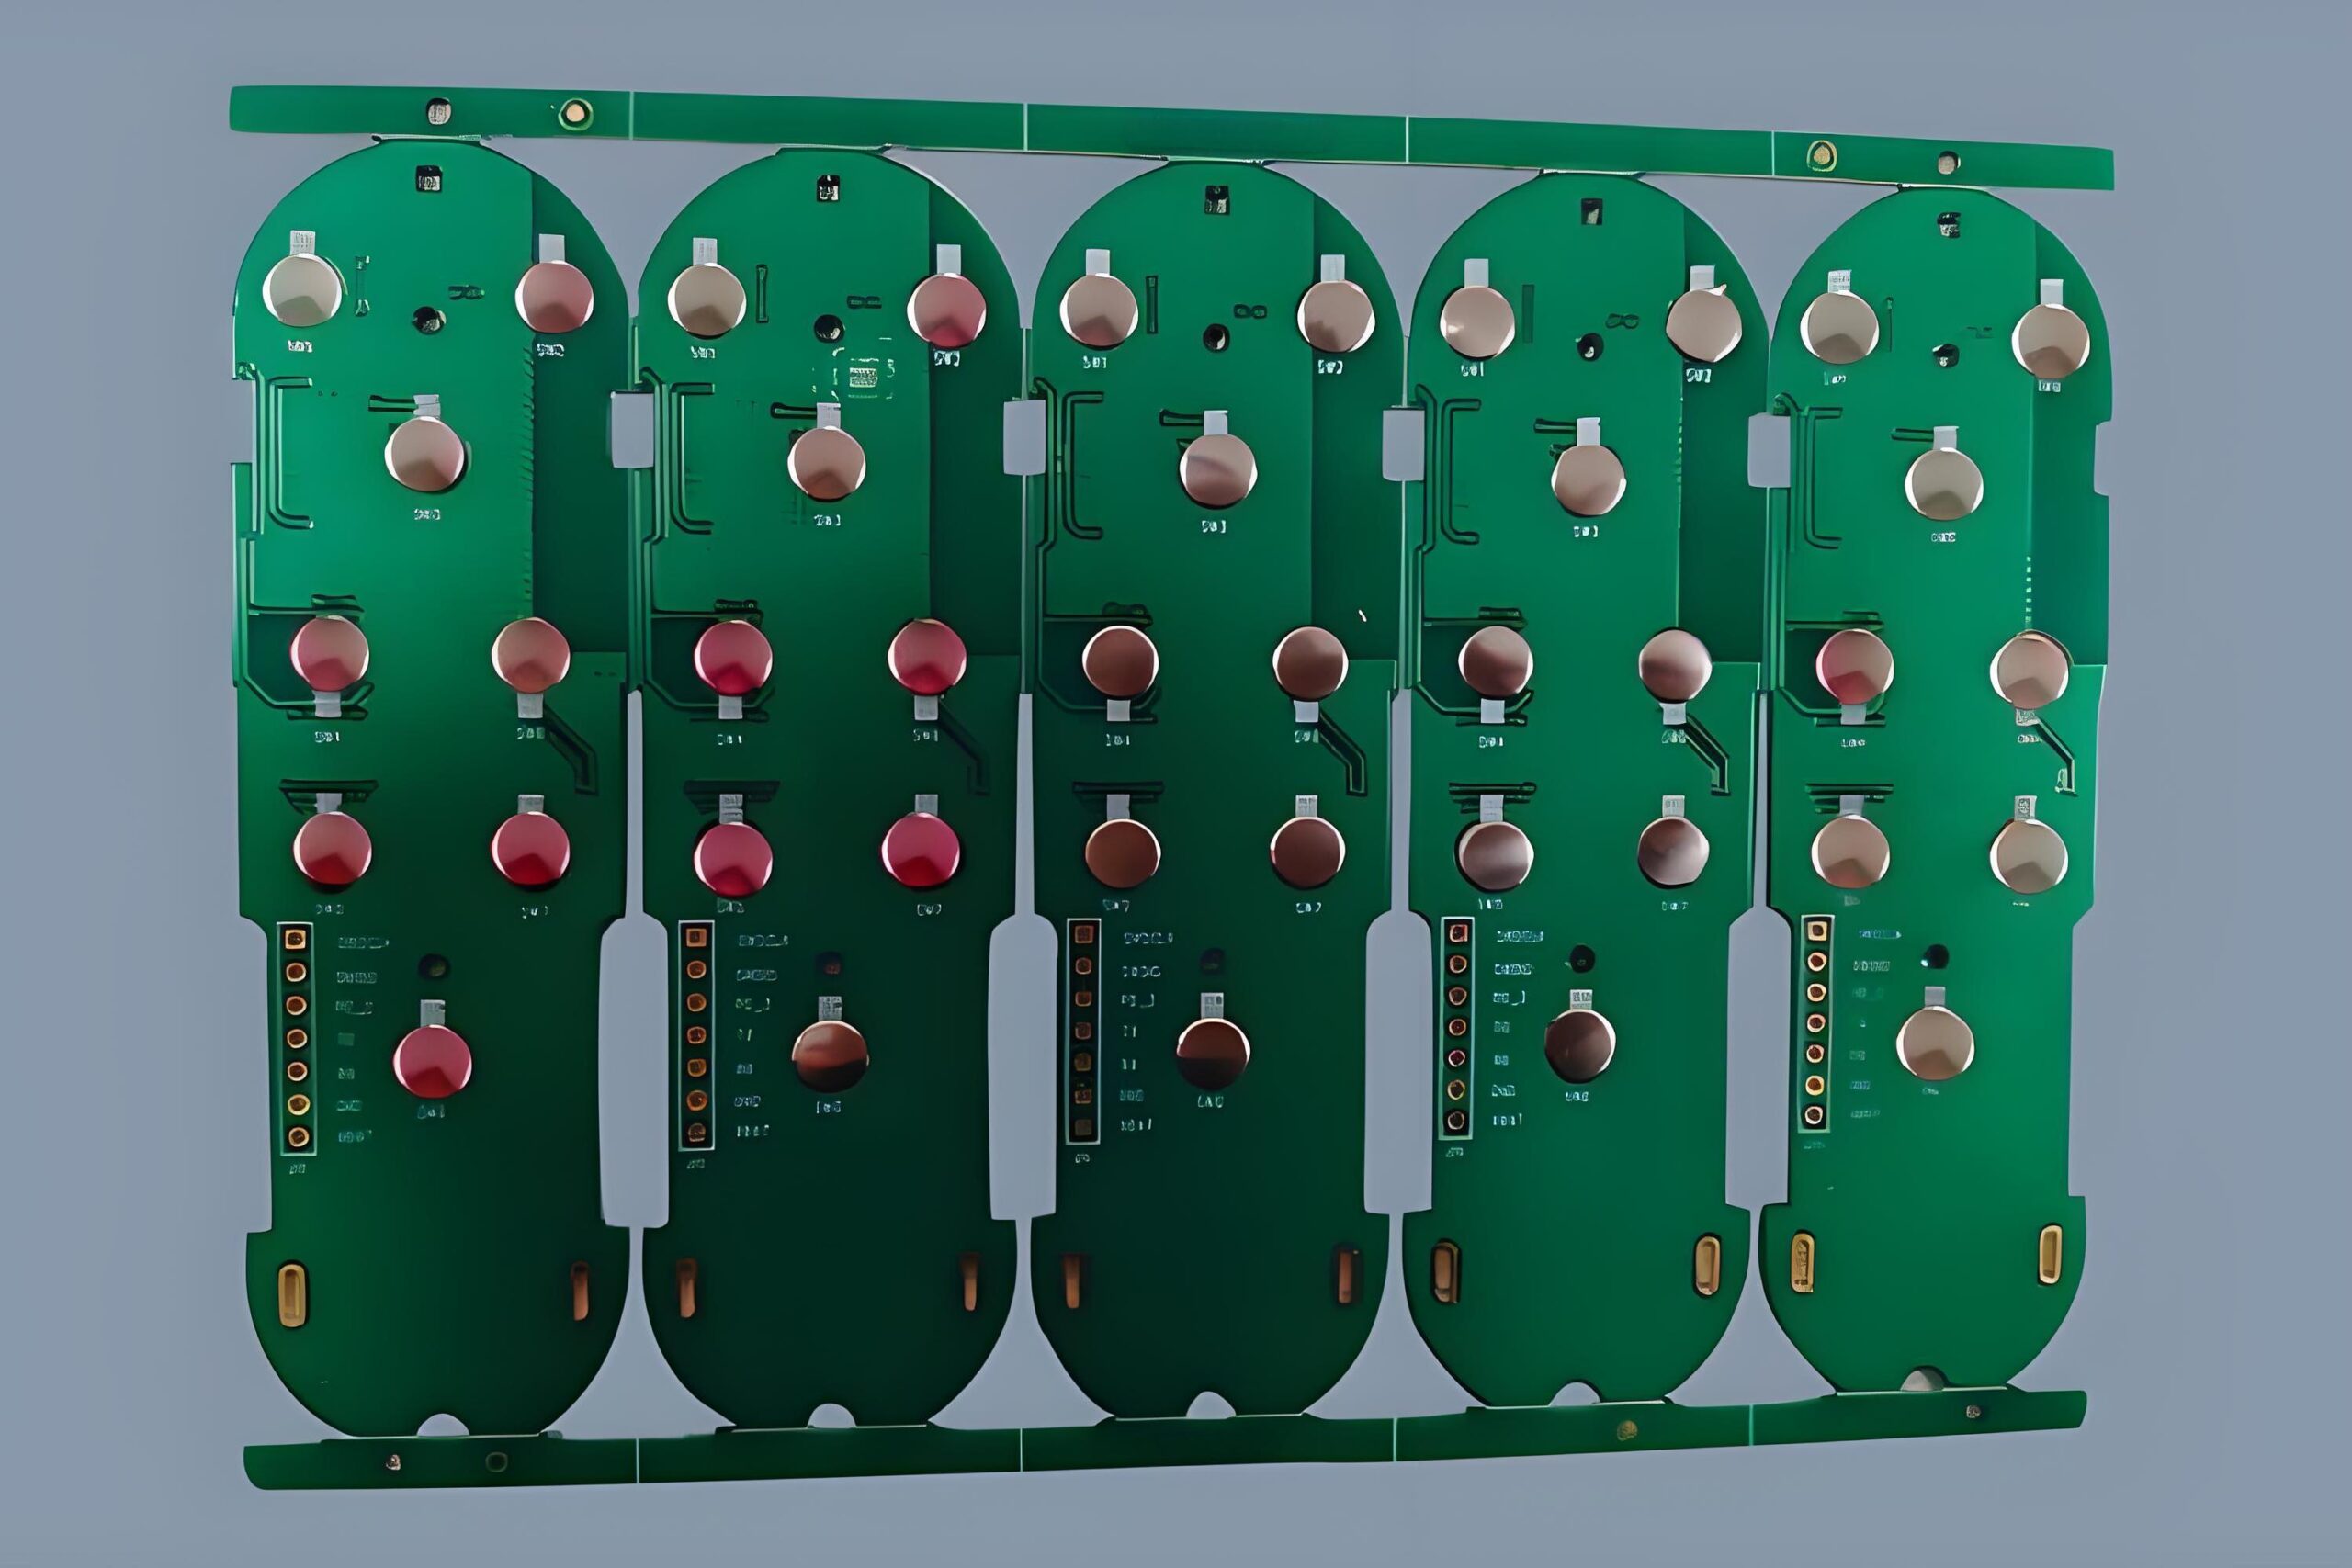
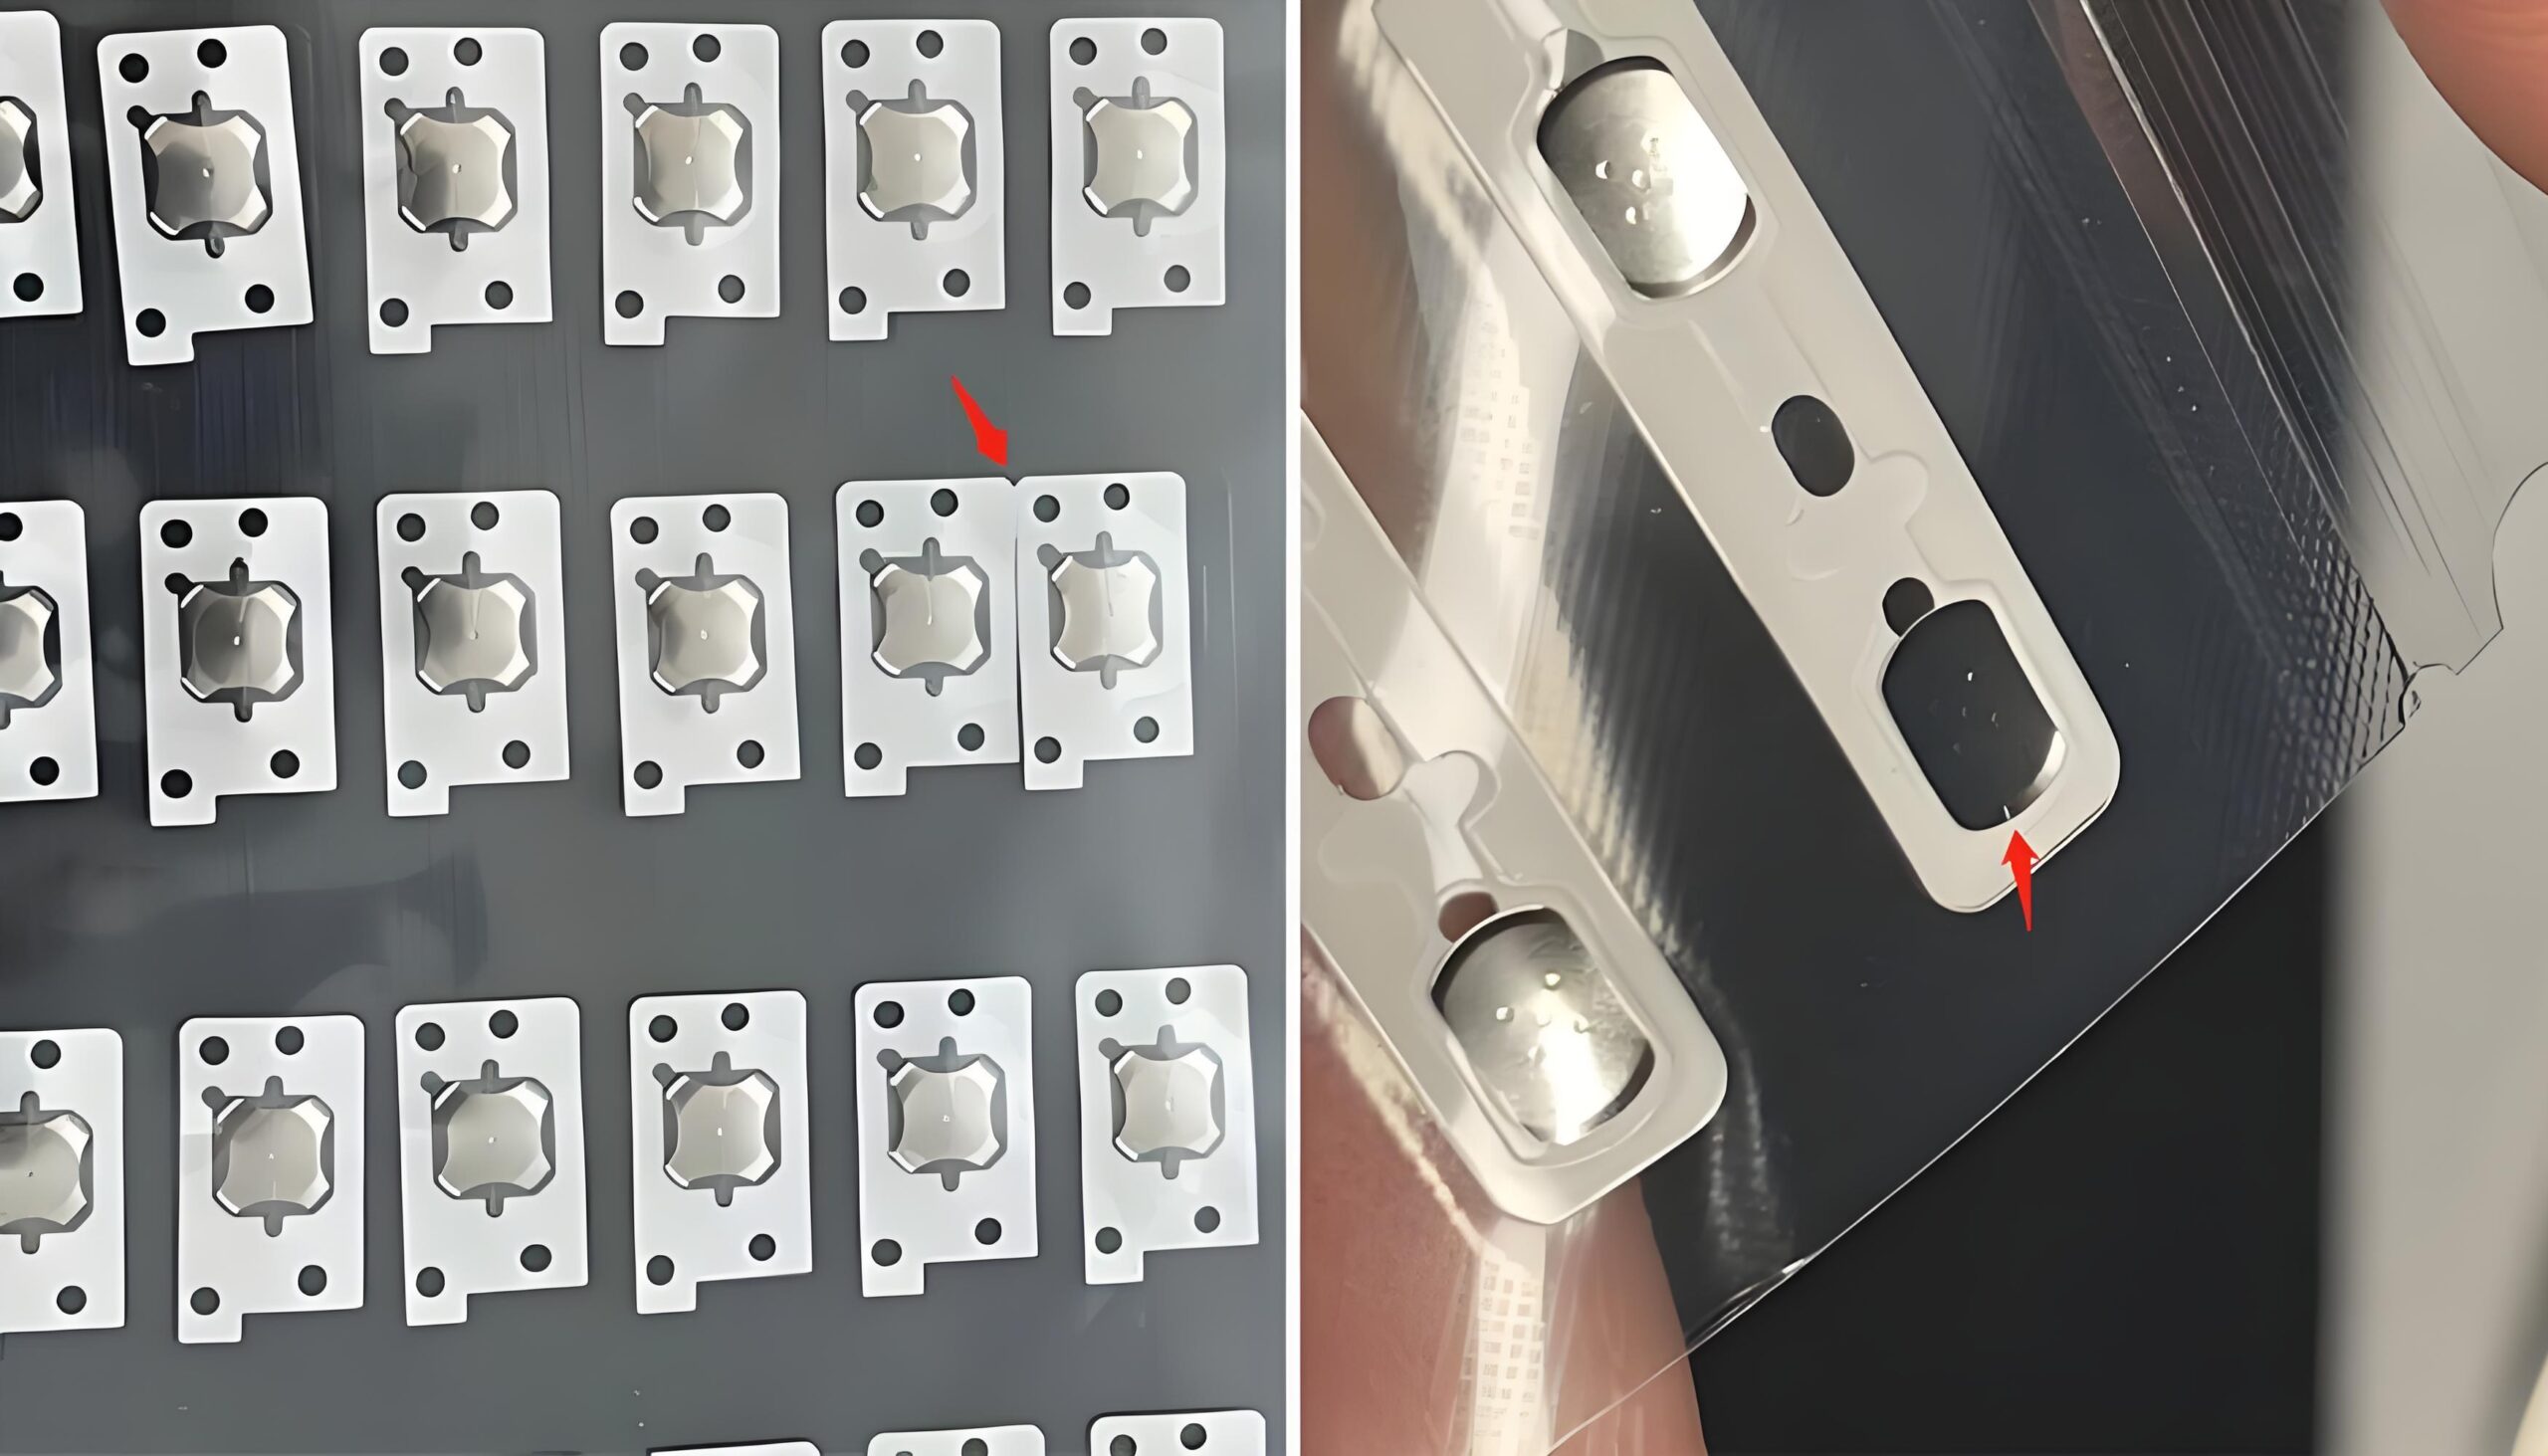
Light guide film (LGF) is an optical film used to convert the point light source of LED into a uniform surface light source. It is widely used in backlighting fields such as mobile phone keys and keyboards. The metal dome array achieves circuit conduction by pressing and provides clear tactile feedback. The combination of the two in the membrane switch not only achieves uniform light emission and stable tactile feedback, but also reduces the number of LED lights, reduces power consumption and costs, and optimizes the performance and user experience of modern electronic devices.
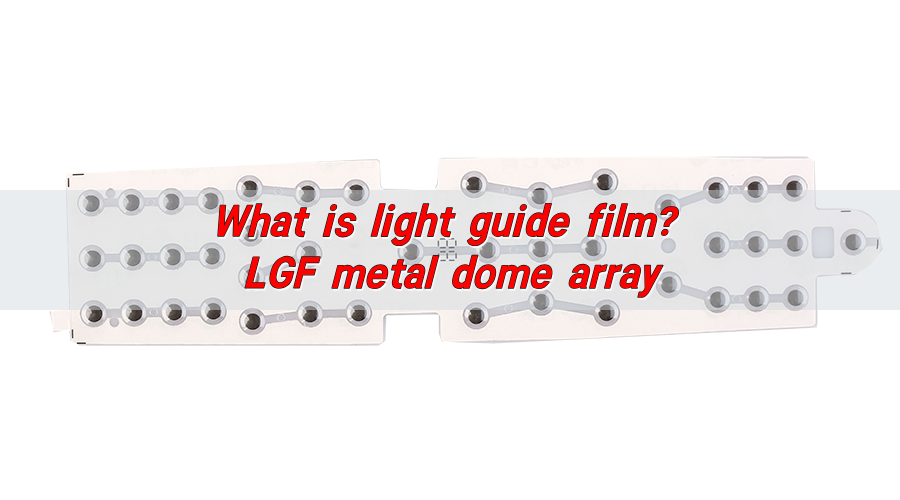
What is light guide film?
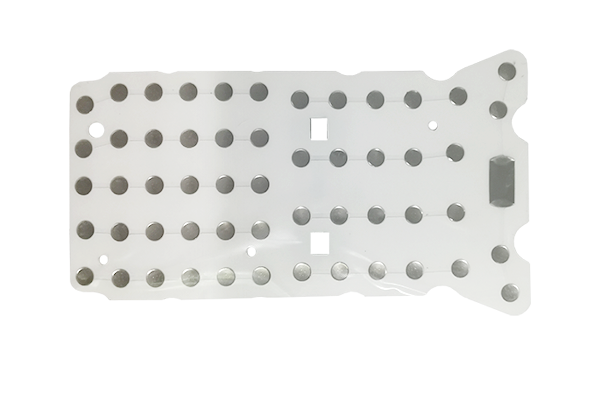
Light guide film (LGF) is a thin, transparent film designed to direct and diffuse light across a given surface. The film typically has a patterned surface that guides light from an LED or light source across a larger area. LGF is often used in display backlighting systems, keyboards, and other products where even and consistent illumination is critical.
In its simplest form, light guide film takes the light emitted from a single or multiple LEDs and spreads it across a broader area, allowing for uniform brightness. This is especially important in applications where precision and quality of light output are paramount.
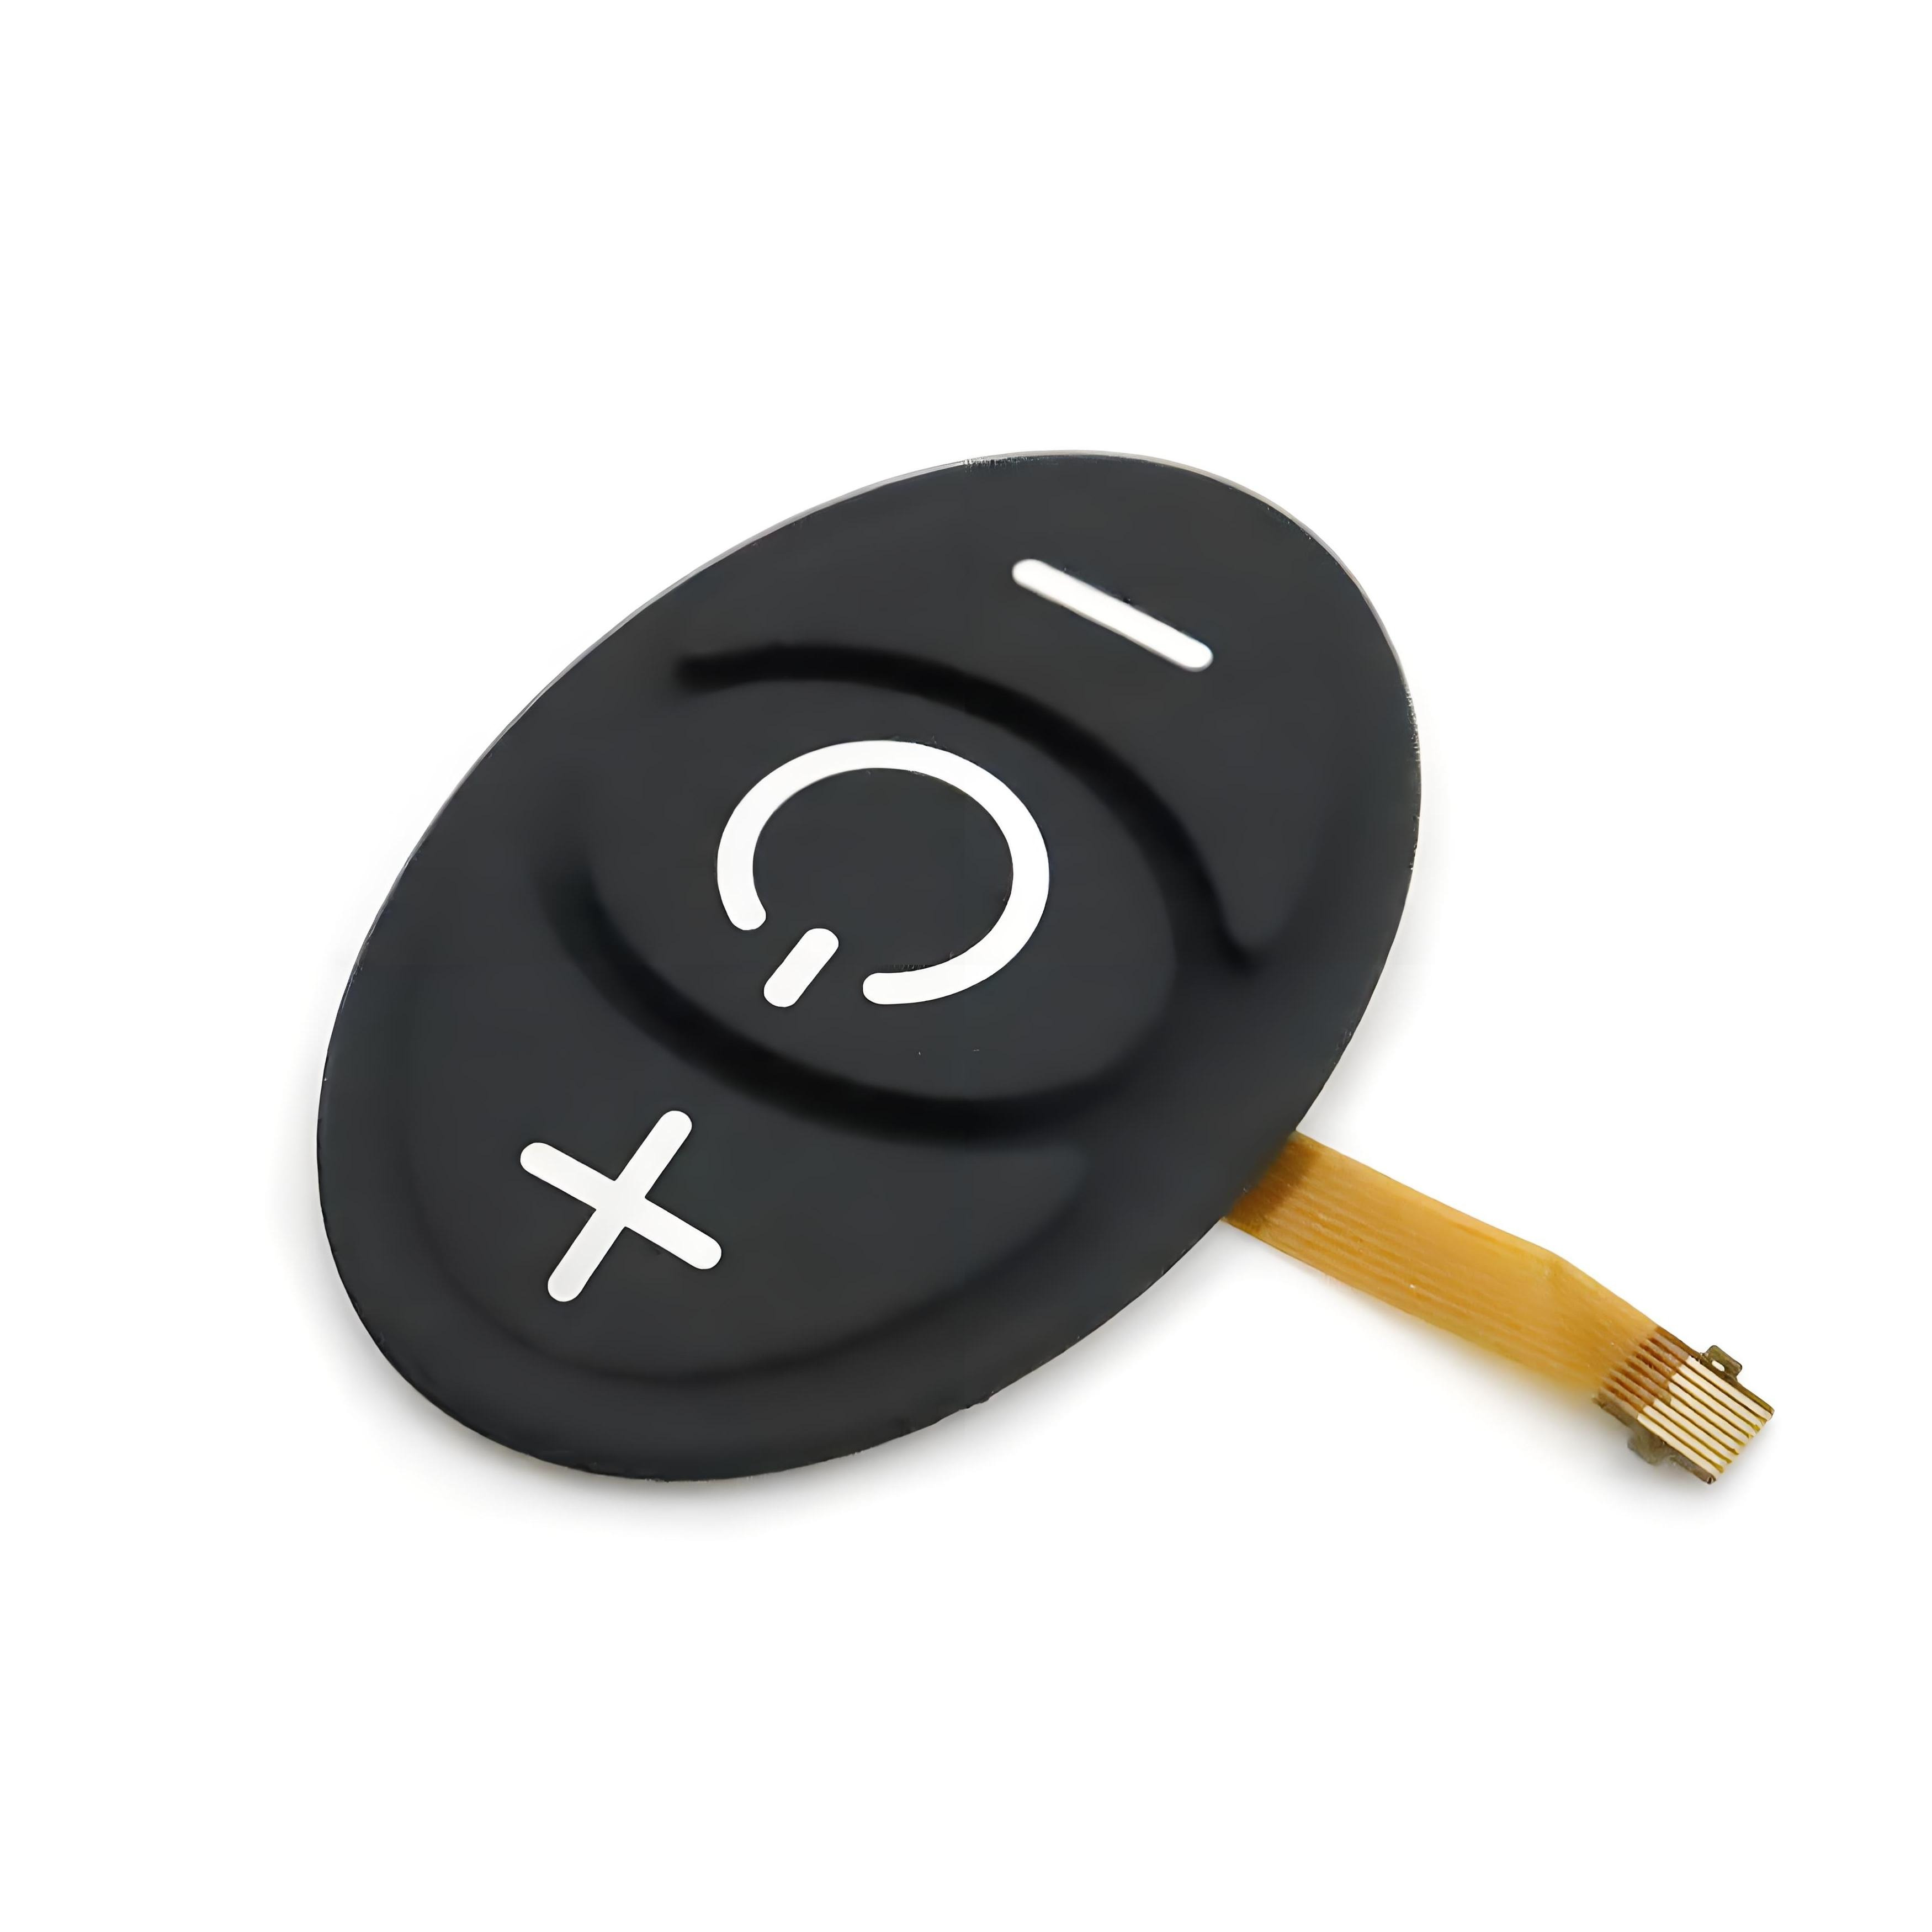
For example, in membrane switches, light guide film enhances the visibility of backlit keys, ensuring each key shines brightly and consistently.
What is light guide film used for?
Light guide film finds its application in many industries, particularly in products where light needs to be evenly distributed. Some common uses of LGF include:
- Backlighting Systems: LGF is primarily used in backlighting for displays such as televisions, monitors, and mobile devices. It helps evenly distribute the light across the screen, improving the overall viewing experience.
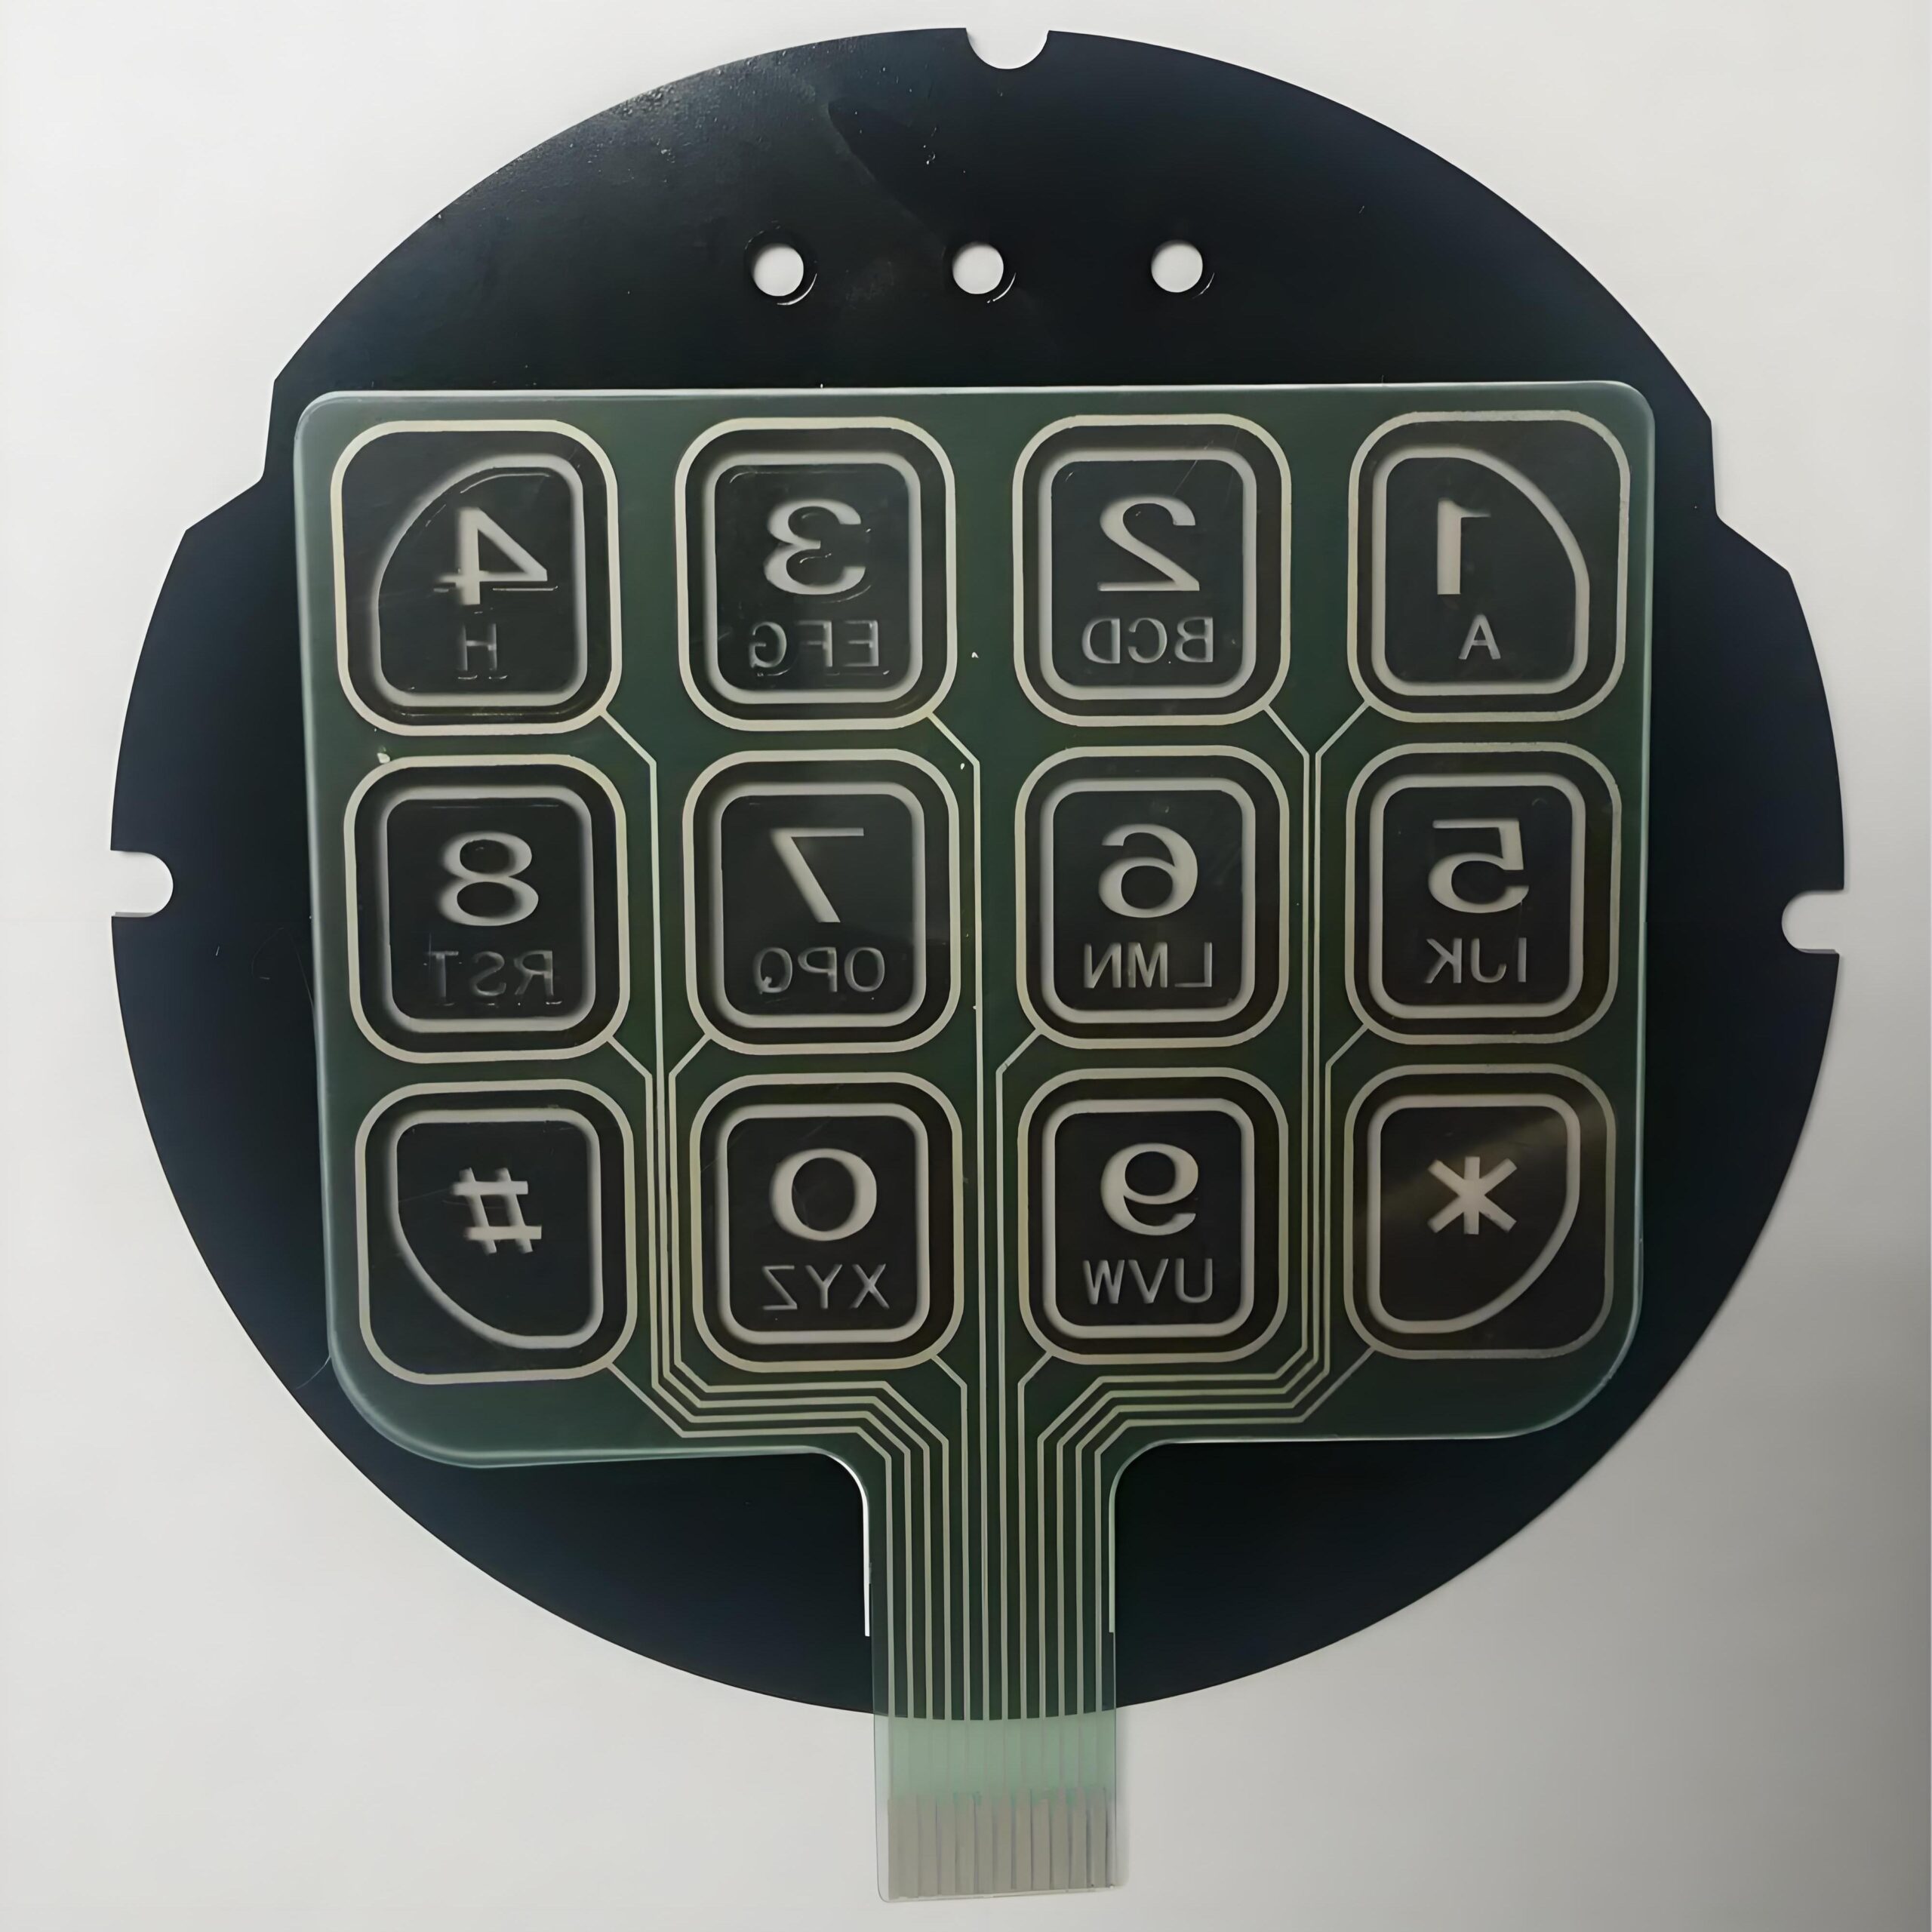
- Membrane Switches: Light guide films are often used in membrane switch designs to backlight keypads. This ensures that the keys or buttons are illuminated, providing easy use in low-light environments.
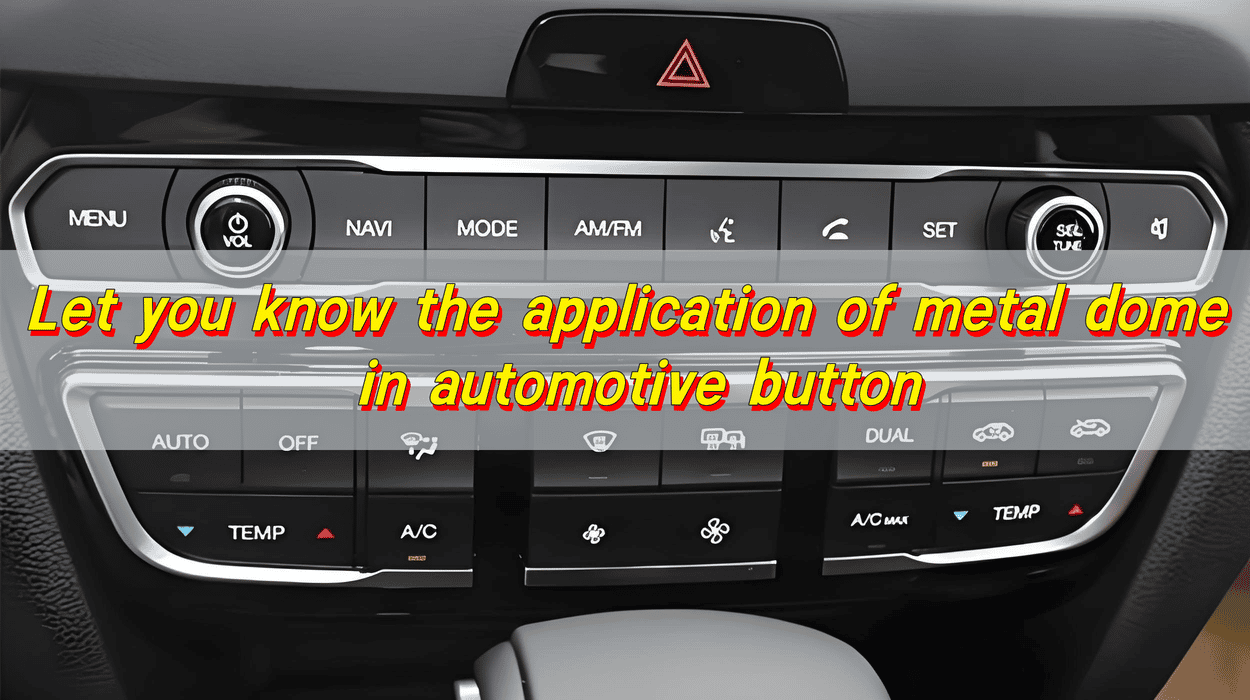
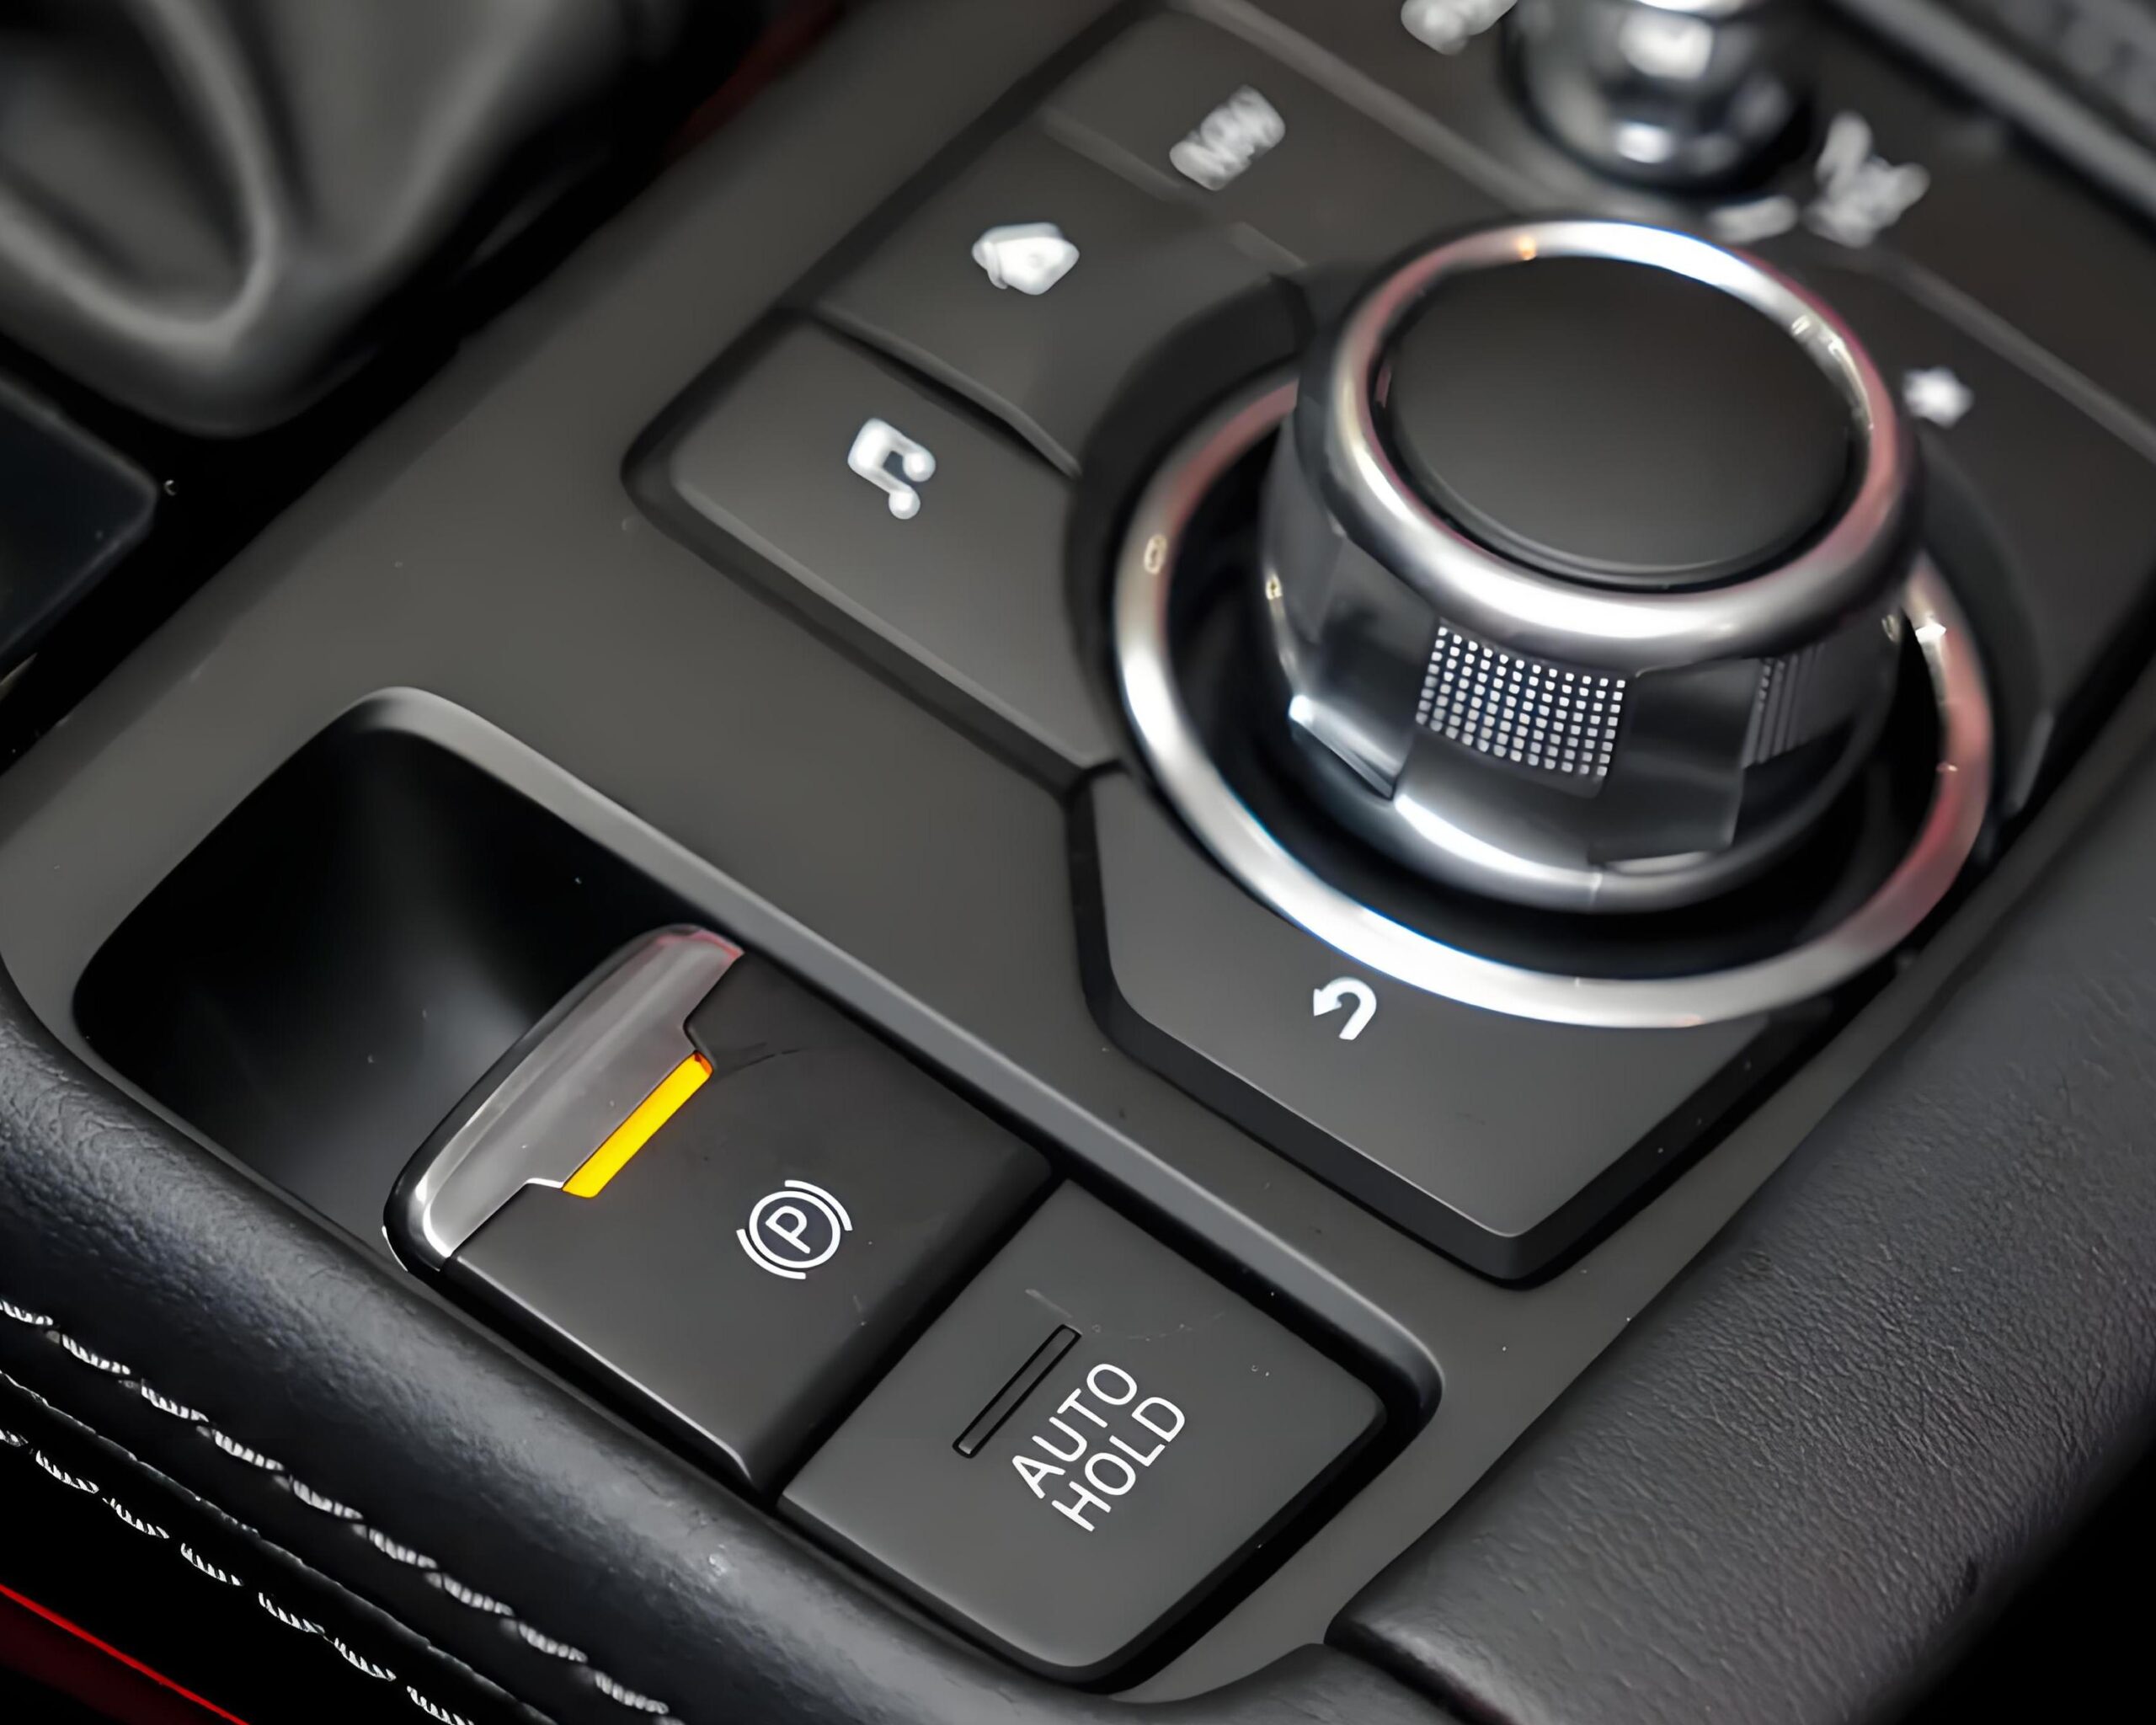
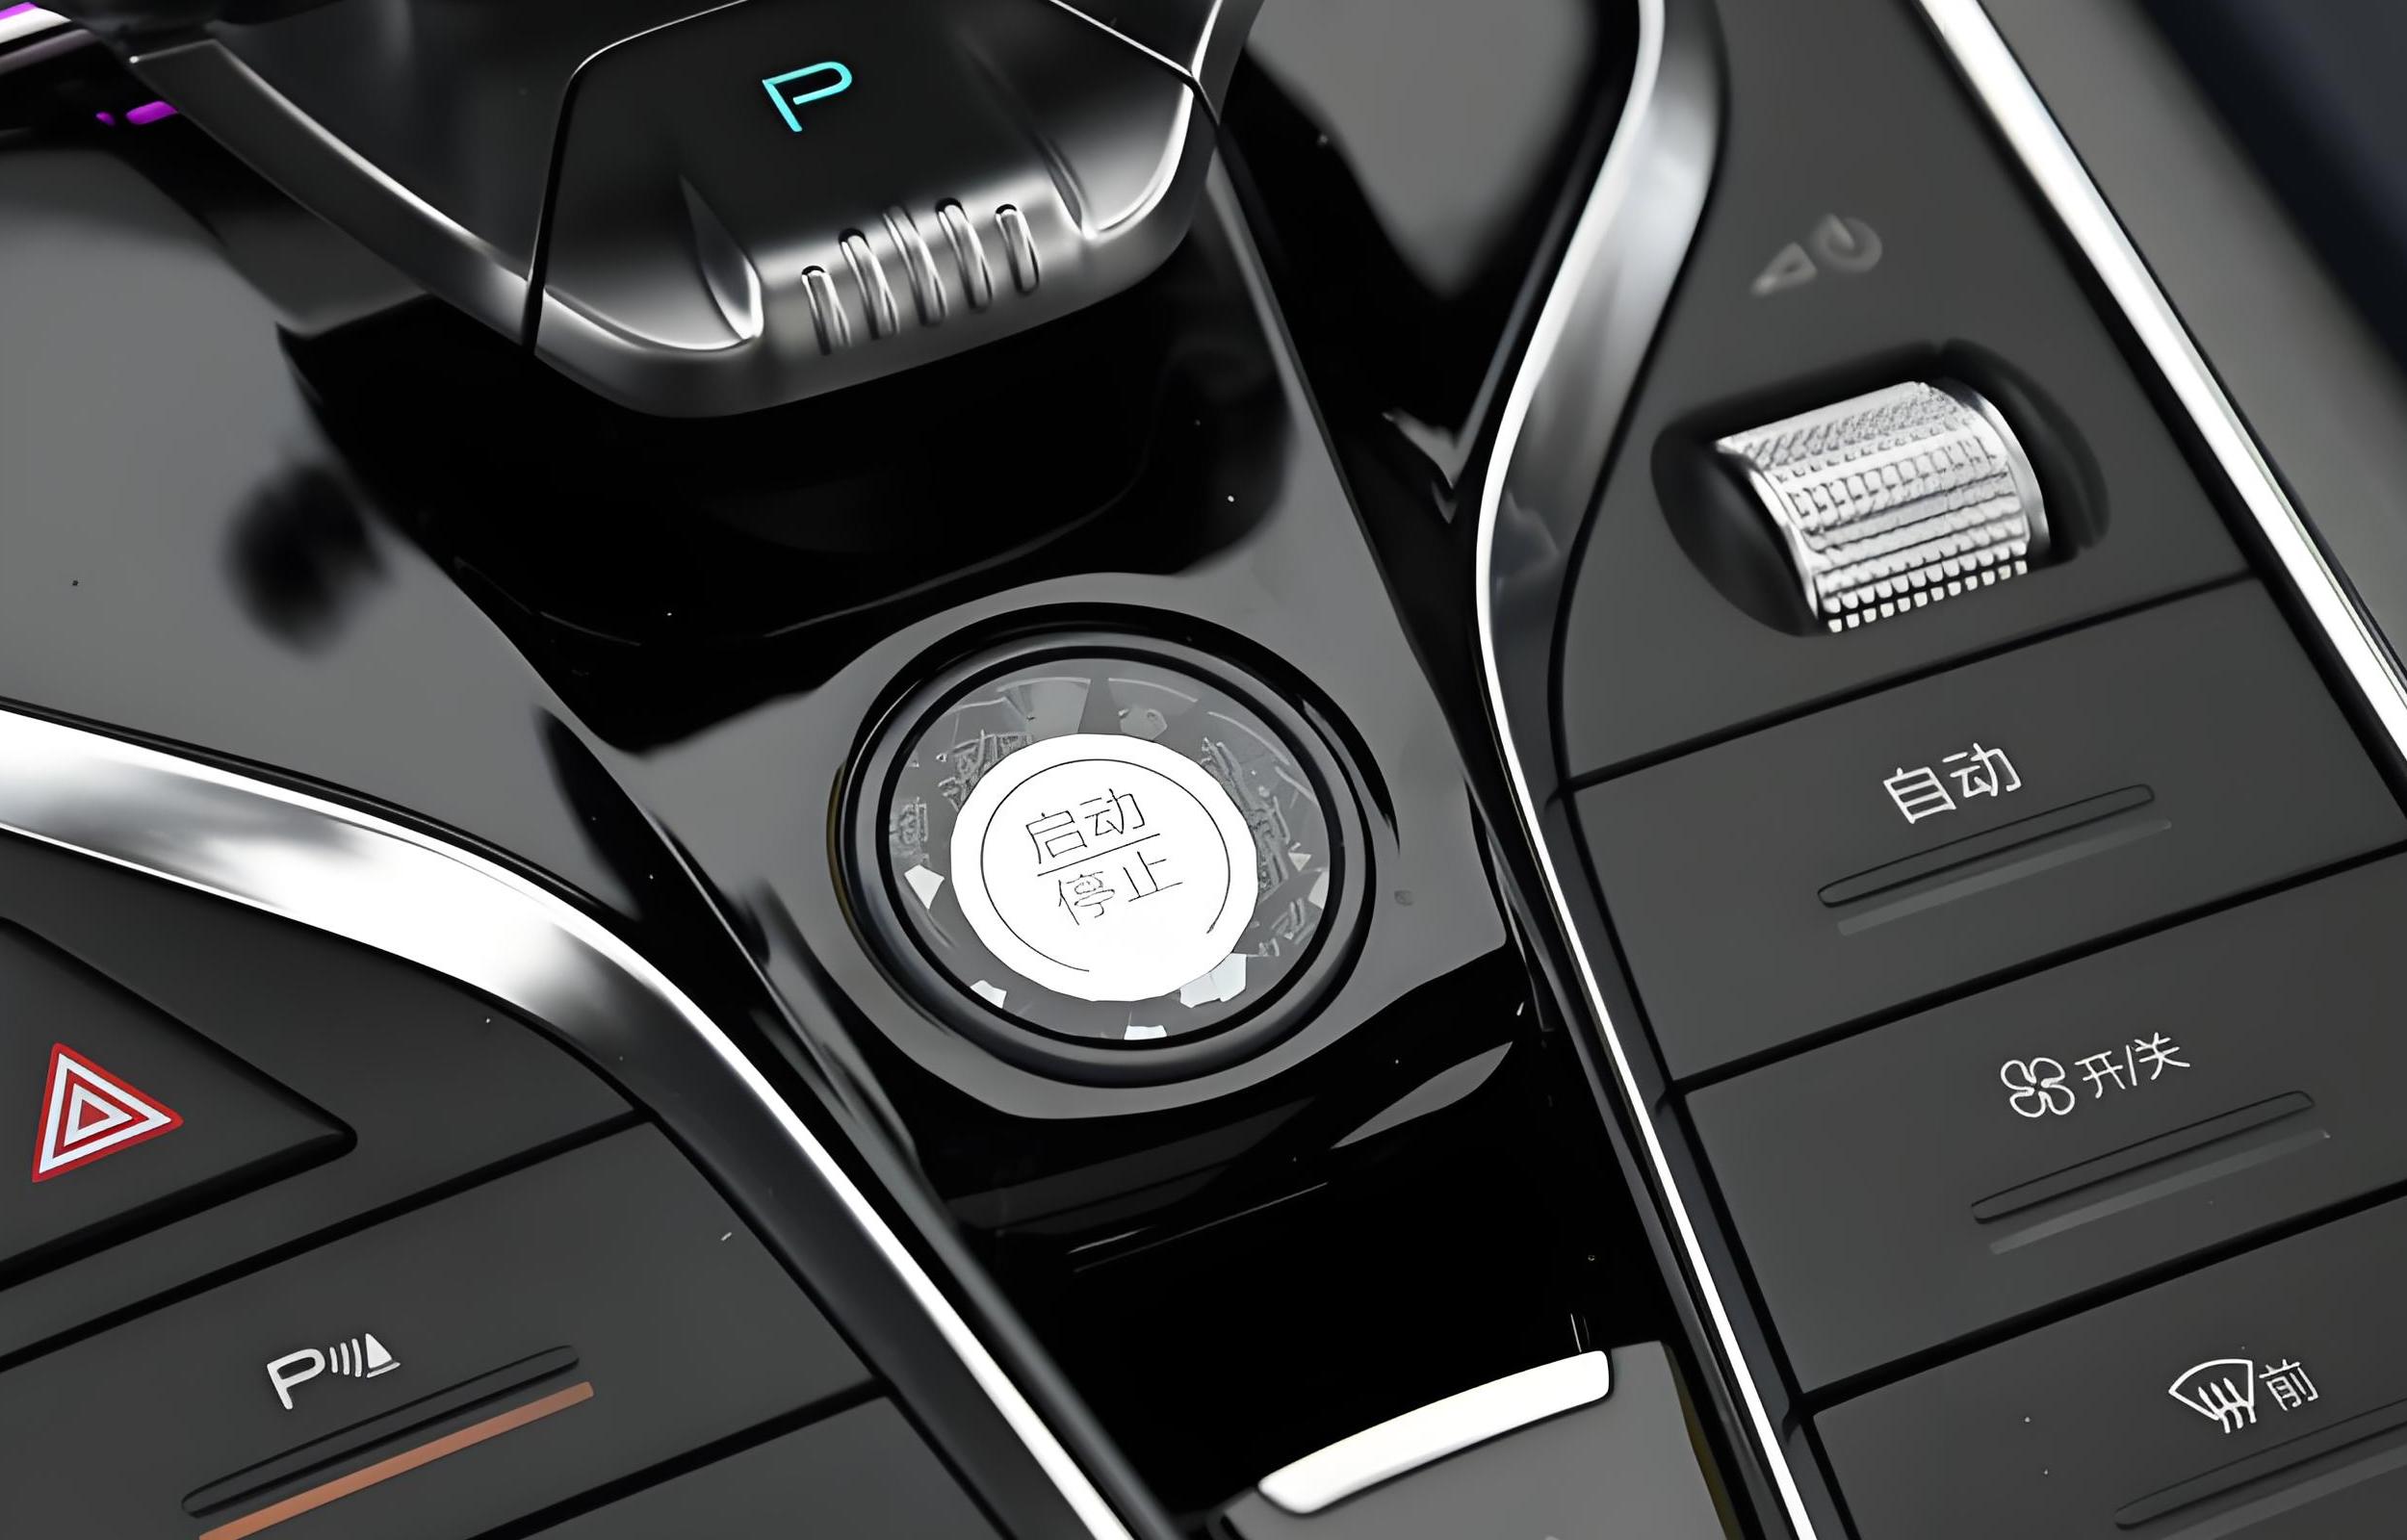
- Automotive Lighting: Many modern vehicles use LGF to create even lighting in interior panels, dashboards, and control systems.
- Signage and Advertisement Displays: LGF is also used in digital signage applications to ensure even light distribution, making messages and images pop in various lighting conditions.
The film serves a broad range of purposes, but its most important characteristic is the way it transforms light, ensuring a consistent and smooth distribution over a desired area.
How does LED light guide film work?
LED light guide film functions by directing and diffusing light from a light-emitting diode (LED). The LED is usually placed along the edge of the light guide film. The surface of the film is carefully patterned to control how light travels through it, preventing hotspots and ensuring even illumination.
When light enters the film from the LED, it travels through the film and is guided to specific areas, depending on the film’s pattern. The surface can have microstructures that reflect and refract the light at specific angles. This ensures that the light is dispersed evenly across the entire surface.
In backlighting systems, the light guide film helps create a uniform light distribution across the screen or panel. This improves the overall visibility, color uniformity, and brightness consistency.
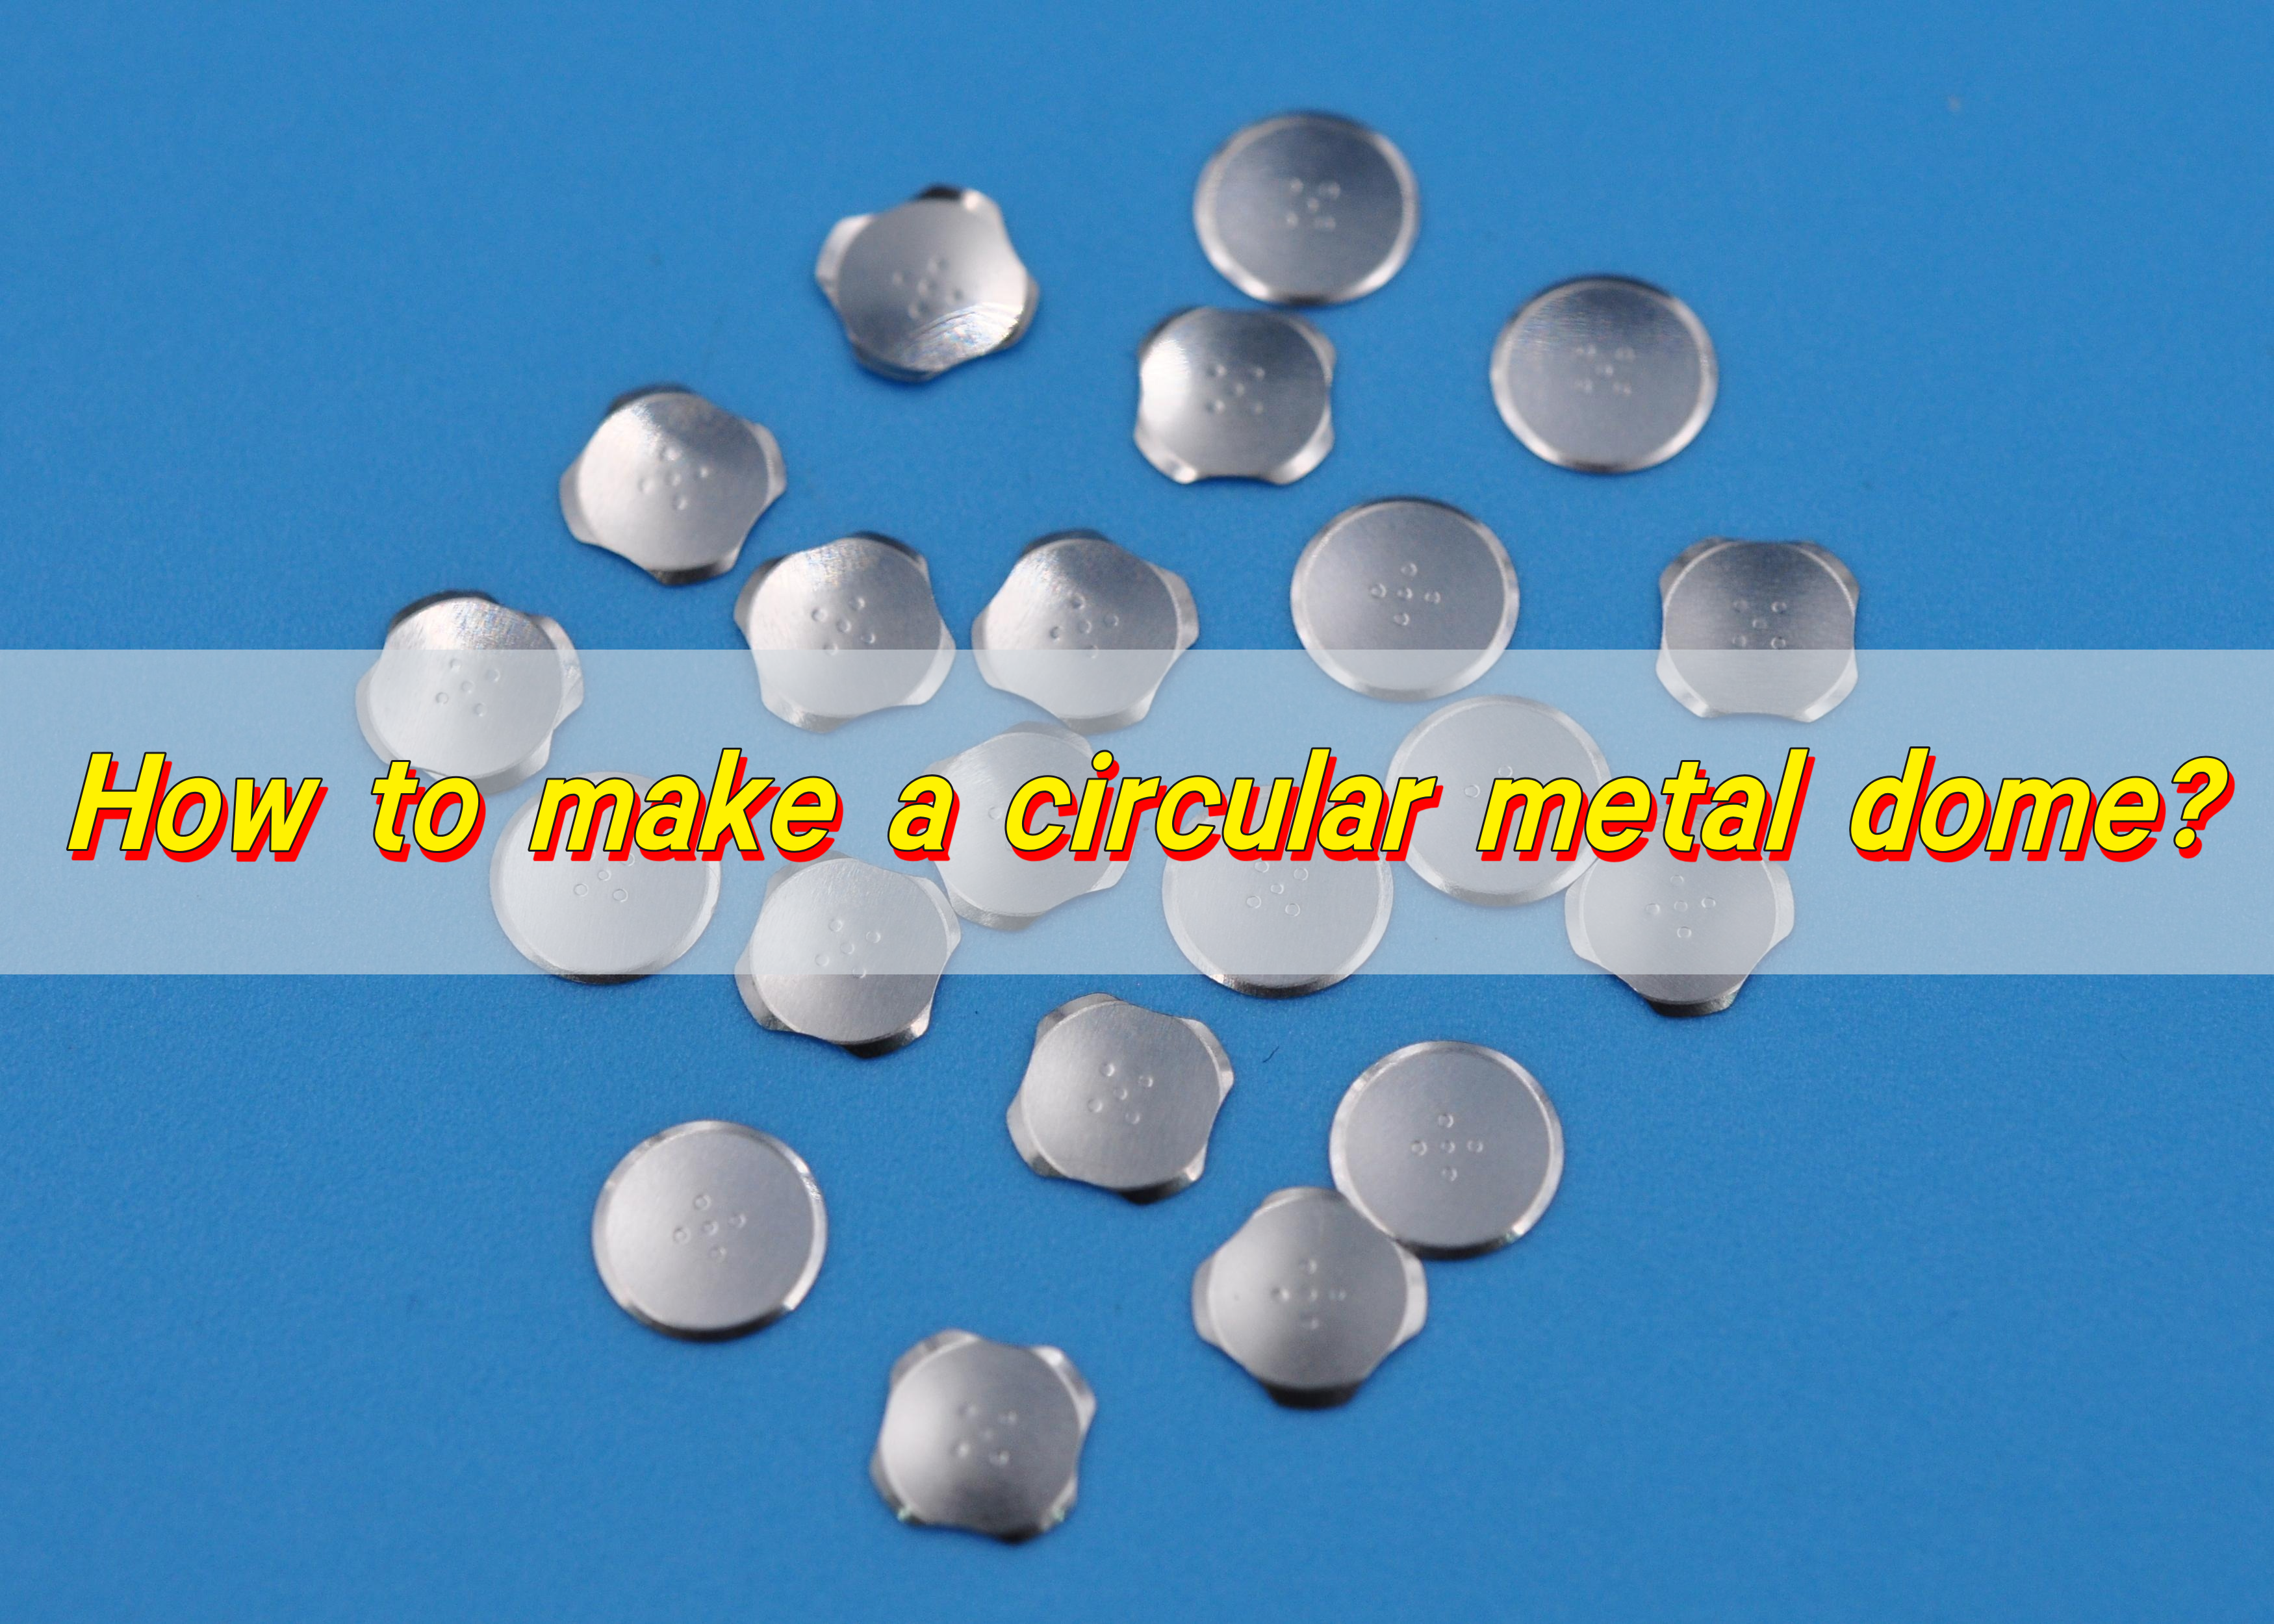
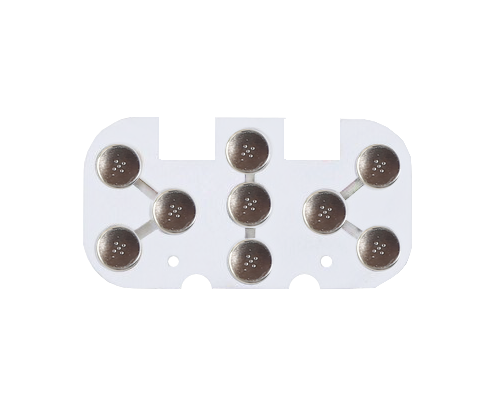
Why choose LGF metal dome arrays?
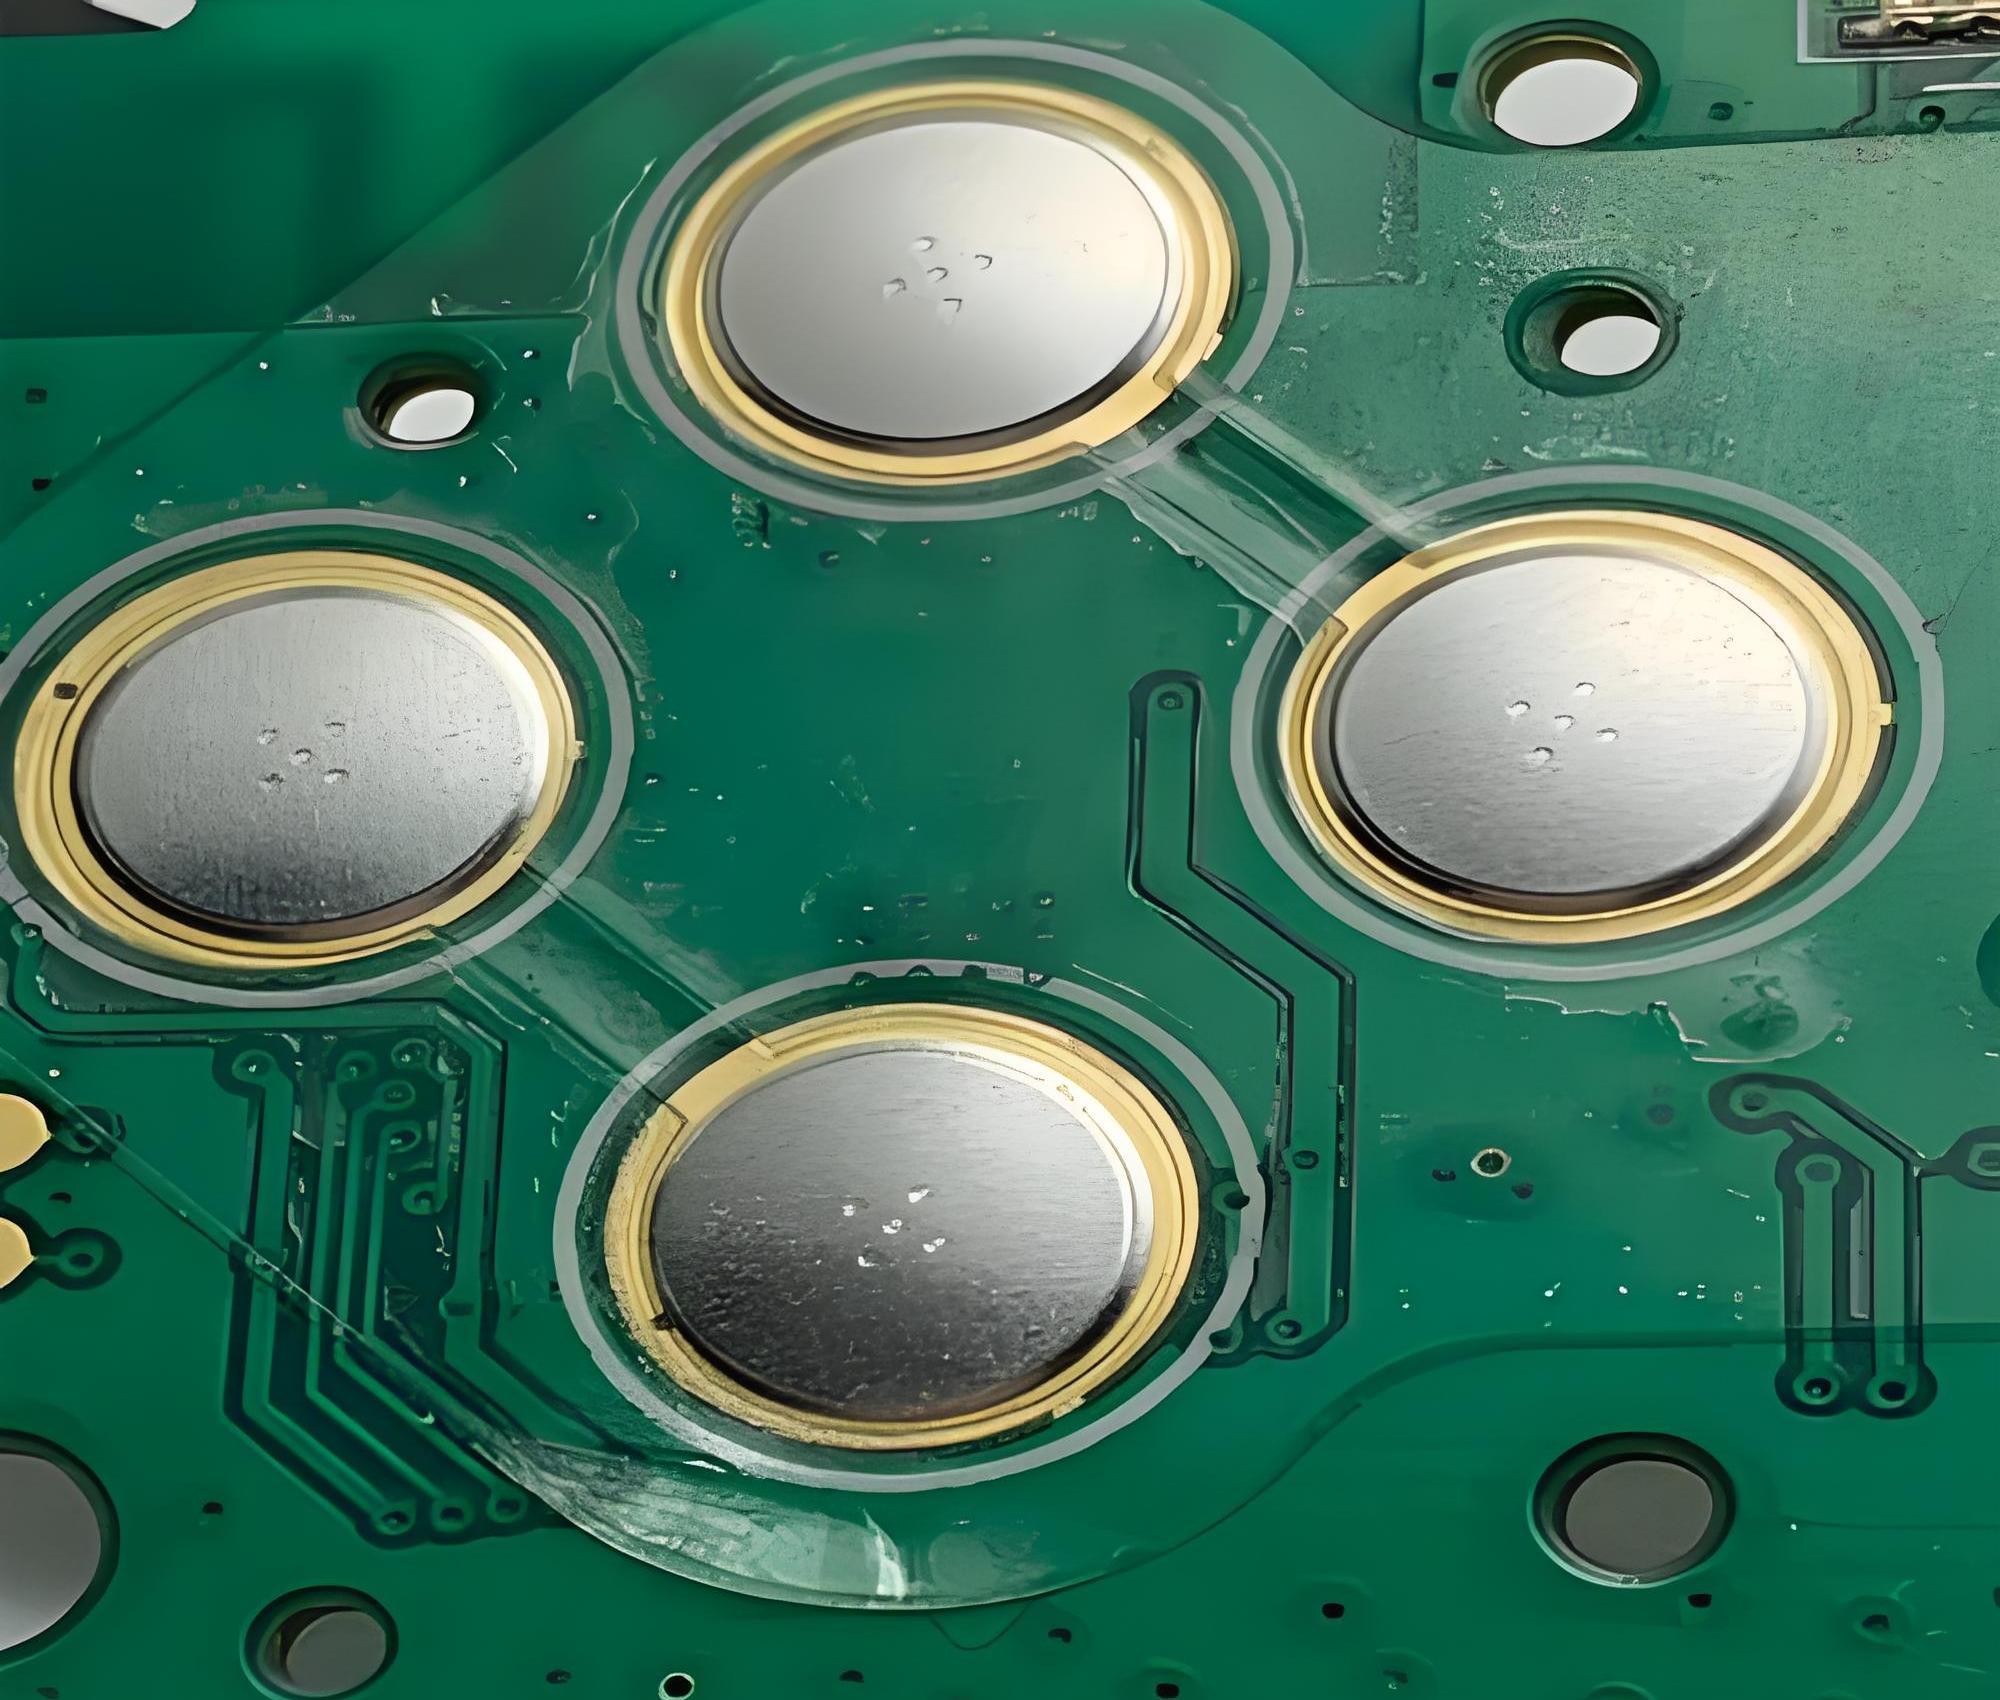
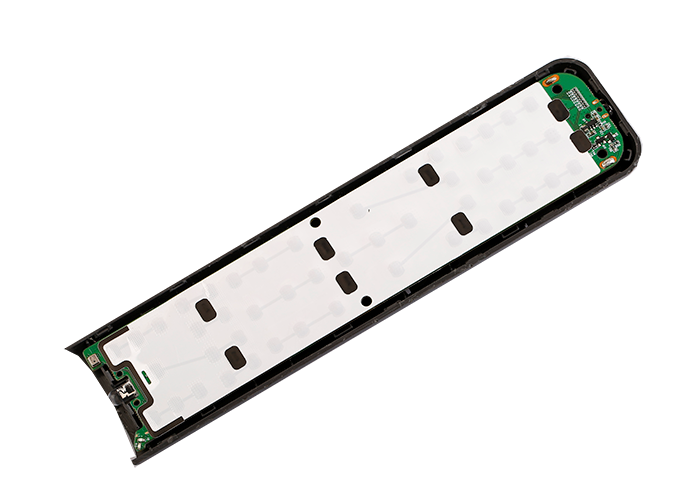
LGF metal dome arrays combine the benefits of light guide film with the precision and reliability of metal dome switches. The integration of these two technologies provides numerous advantages, especially in terms of user interface designs.
- Precision Illumination: By using LGF in combination with metal domes, you can create more precise and uniform backlighting for membrane switches. The metal dome array provides tactile feedback for users, while the light guide film ensures the keys are illuminated with perfect brightness.
- Improved Durability: Metal domes are known for their durability and long lifespan. When paired with LGF, you get a reliable, high-performance switch that can endure thousands of presses without losing quality.
- Compact and Efficient: The integration of LGF and metal dome arrays allows for more compact designs without compromising on performance. This is crucial in industries like consumer electronics, where space is limited.
- Enhanced Aesthetics: LGF metal dome arrays are ideal for applications that require sleek, modern designs. The uniform light distribution provided by the light guide film enhances the aesthetic appeal of devices, making them more visually pleasing to users.
By choosing LGF metal dome arrays, companies can produce high-quality, reliable, and visually attractive products, whether for keyboards, medical devices, or automotive applications.
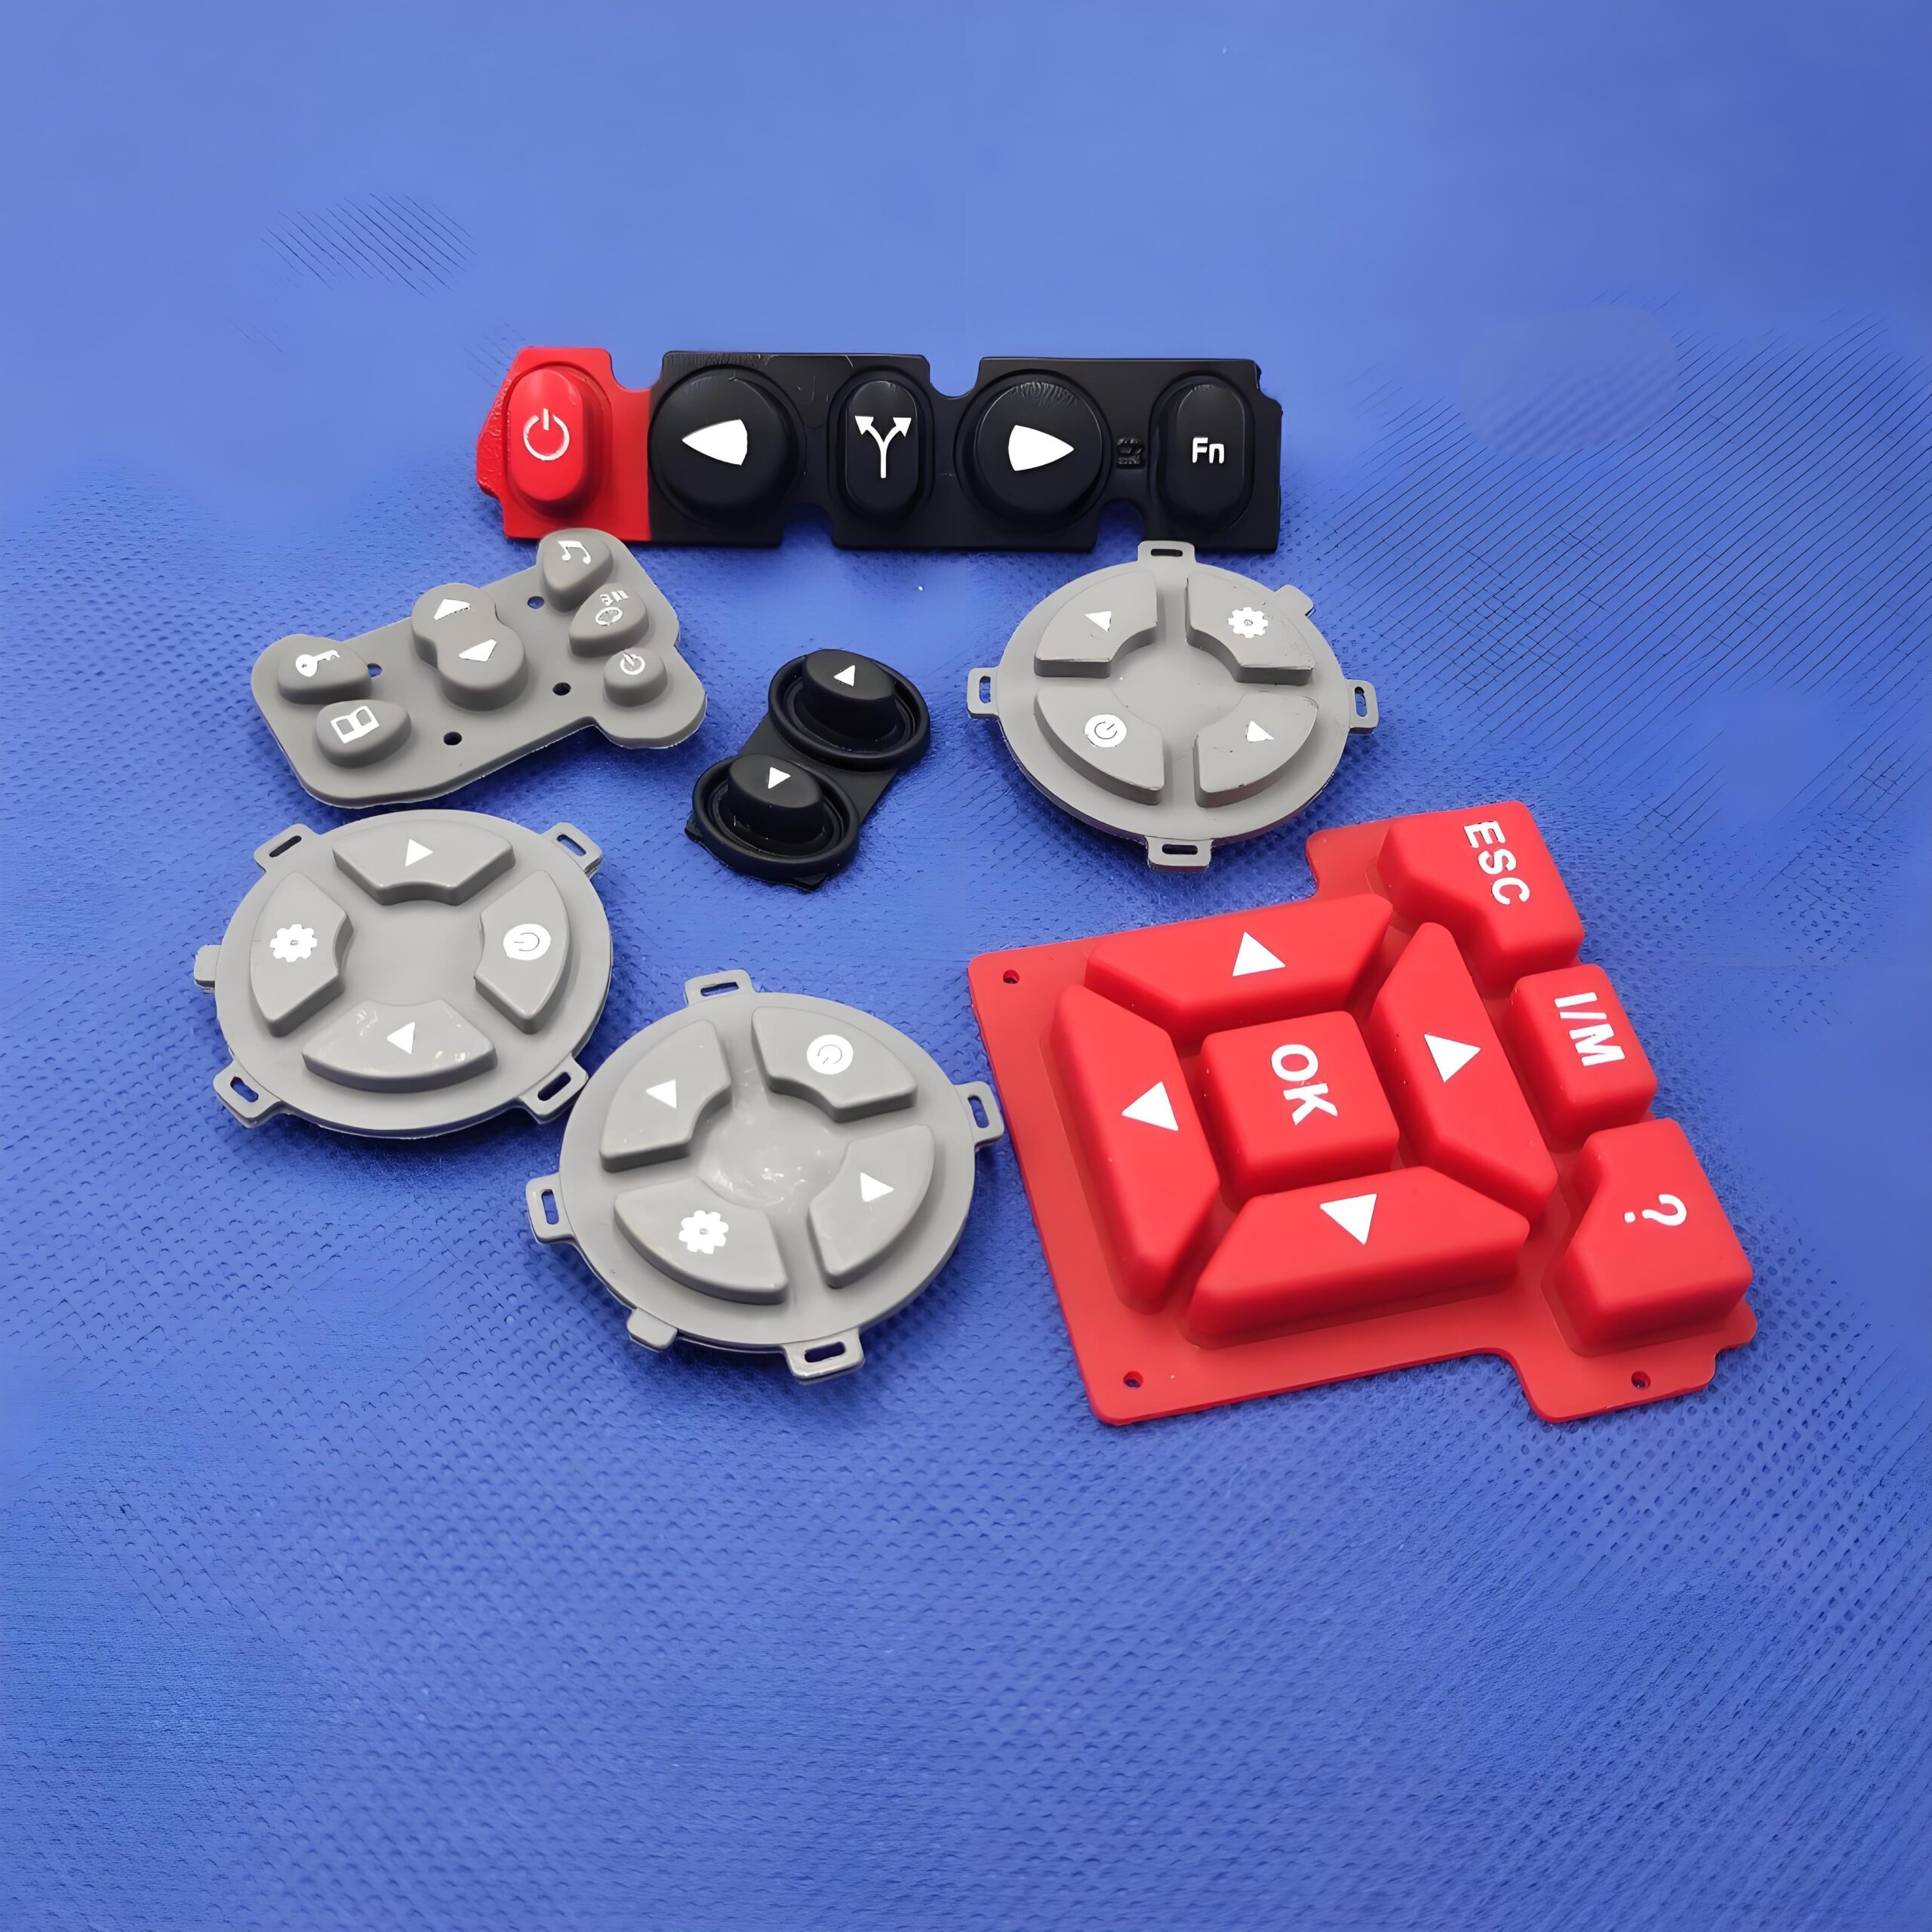
Why use light guide film on membrane switches?
Membrane switches, used in various electronic devices and appliances, benefit significantly from the integration of light guide films.
- Uniform Backlighting: Membrane switches are often used in environments where consistent backlighting is necessary. Light guide film ensures that every key is illuminated evenly, improving the user experience.
- Low Power Consumption: Using LGF helps in reducing power consumption. Since the film effectively distributes light across the surface, fewer LEDs are required to achieve the desired brightness level.
- Enhanced Functionality: LGF improves the visibility of membrane switches, even in low-light conditions. This makes the switches more functional, as users can easily identify the keys or buttons they need to press.
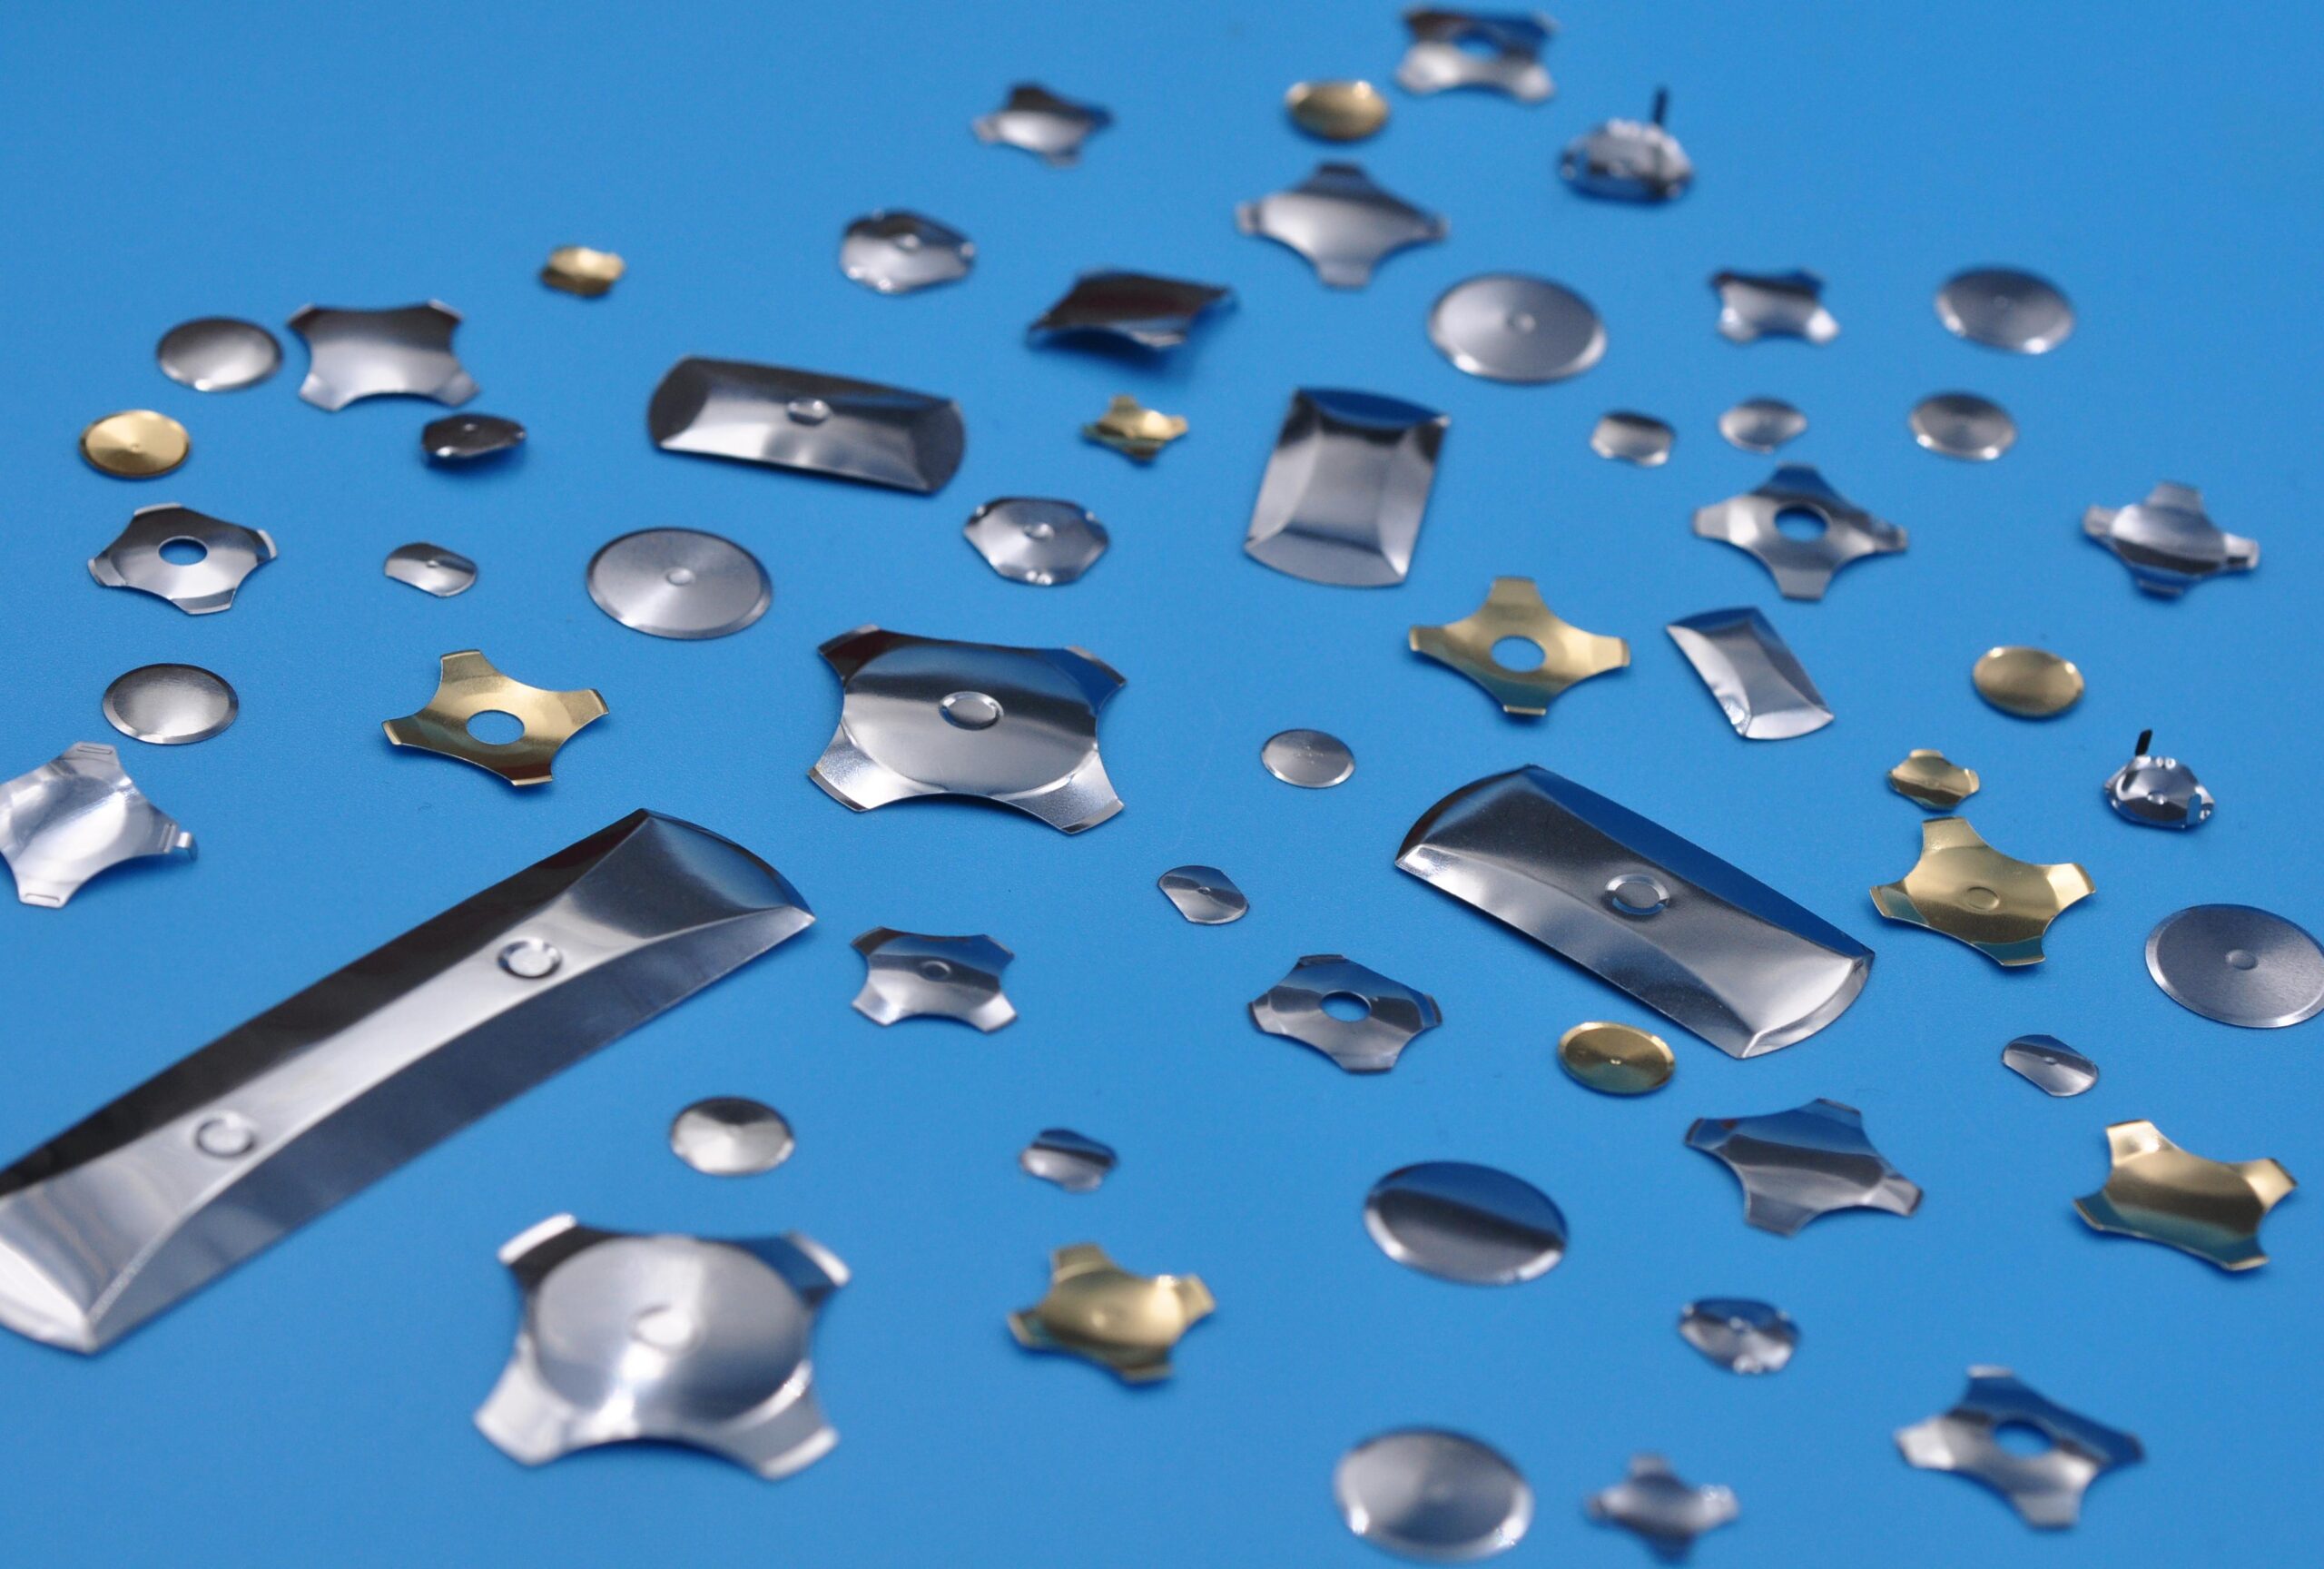
- Design Flexibility: Membrane switches with LGF can be designed to accommodate various shapes, sizes, and configurations, making them suitable for a wide range of applications.
By adding light guide film to membrane switches, manufacturers can enhance the usability and visual appeal of their products while maintaining energy efficiency.
Light Guide Plate vs. Light Guide Film: What’s the difference?
While light guide plates (LGP) and light guide films (LGF) serve similar purposes—distributing light across a surface—there are some key differences between them:
- Material: LGPs are typically made of rigid materials such as acrylic or polycarbonate, while LGFs are flexible and thin, often made from PET or other lightweight materials.
- Application: LGPs are primarily used in large-scale applications, such as flat panel displays and signage. In contrast, LGFs are more commonly used in compact devices, such as membrane switches, handheld gadgets, and automotive control panels.
- Flexibility: LGFs offer more flexibility than LGPs, making them easier to incorporate into compact designs and curved surfaces.
Both LGP and LGF are used to guide light, but the choice between the two depends largely on the specific application and the need for flexibility versus rigidity.
What makes a good light guide film design?
The design of light guide film is crucial to its performance. A good LGF design ensures that the light is distributed evenly, with no visible hotspots or dark areas.
- Surface Pattern: The microstructure pattern on the surface of the film controls how light is distributed.
- Material Quality: High-quality materials ensure that the film remains effective for longer and performs consistently.
- Thickness: The thickness of the LGF can impact its light diffusion properties. A thinner film may offer more flexibility, while a thicker film may provide better light diffusion.
- Edge Light Source Placement: The position of the light source (usually an LED) plays a critical role in determining how evenly the light is distributed across the surface.
When these factors are optimized, a light guide film can provide a seamless lighting experience, ensuring that it meets the needs of users.
Conclusion:
Light guide film is a versatile and essential component in today’s lighting and switch technologies. From its ability to evenly distribute light to its integration with metal dome arrays for membrane switches, LGF plays a critical role in enhancing user interfaces and product performance.
For further inquiries or product information, feel free to contact us at sales@metal-domes.com