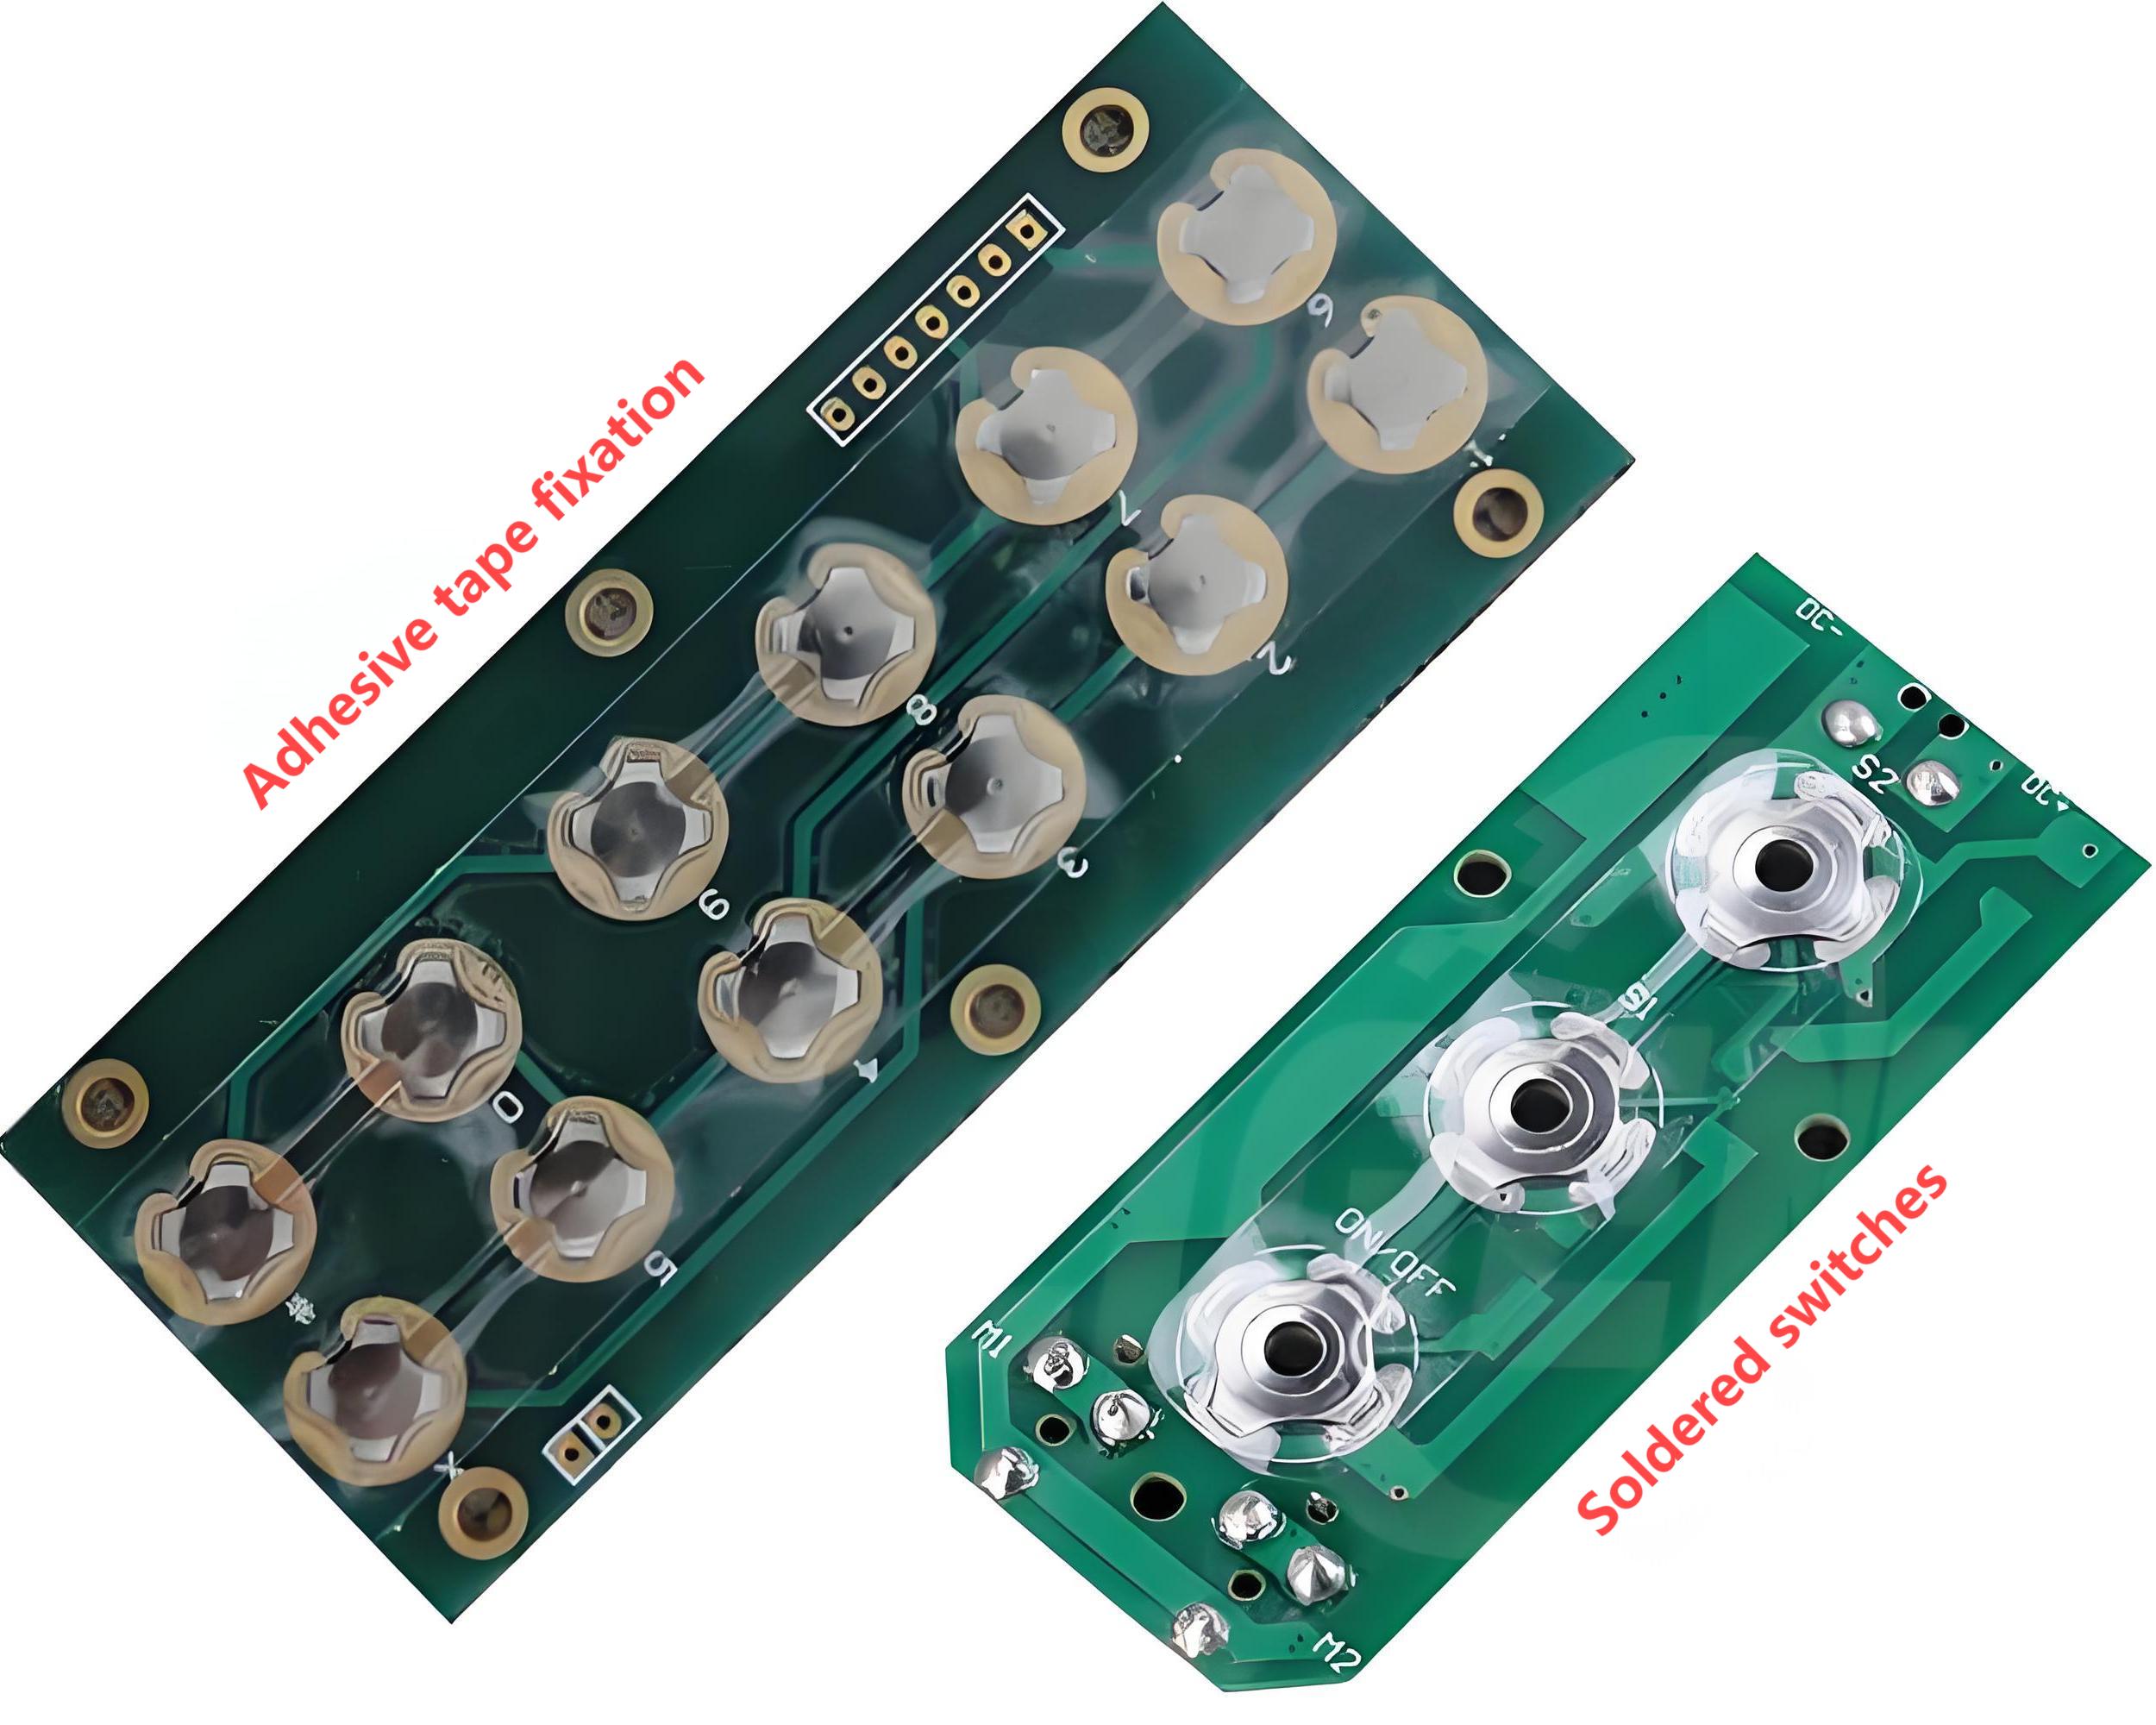
When soldering metal dome switches, pay attention to the following points: First, choose the appropriate soldering method according to the shape and size of the metal dome (such as round, triangular, etc.). When soldering, it is recommended to use manual soldering or wave soldering, the temperature is controlled below 300?, and the soldering time does not exceed 3 seconds. For metal domes with feet, avoid completely soldering the feet to avoid affecting the elasticity of the dome and shortening its service life.
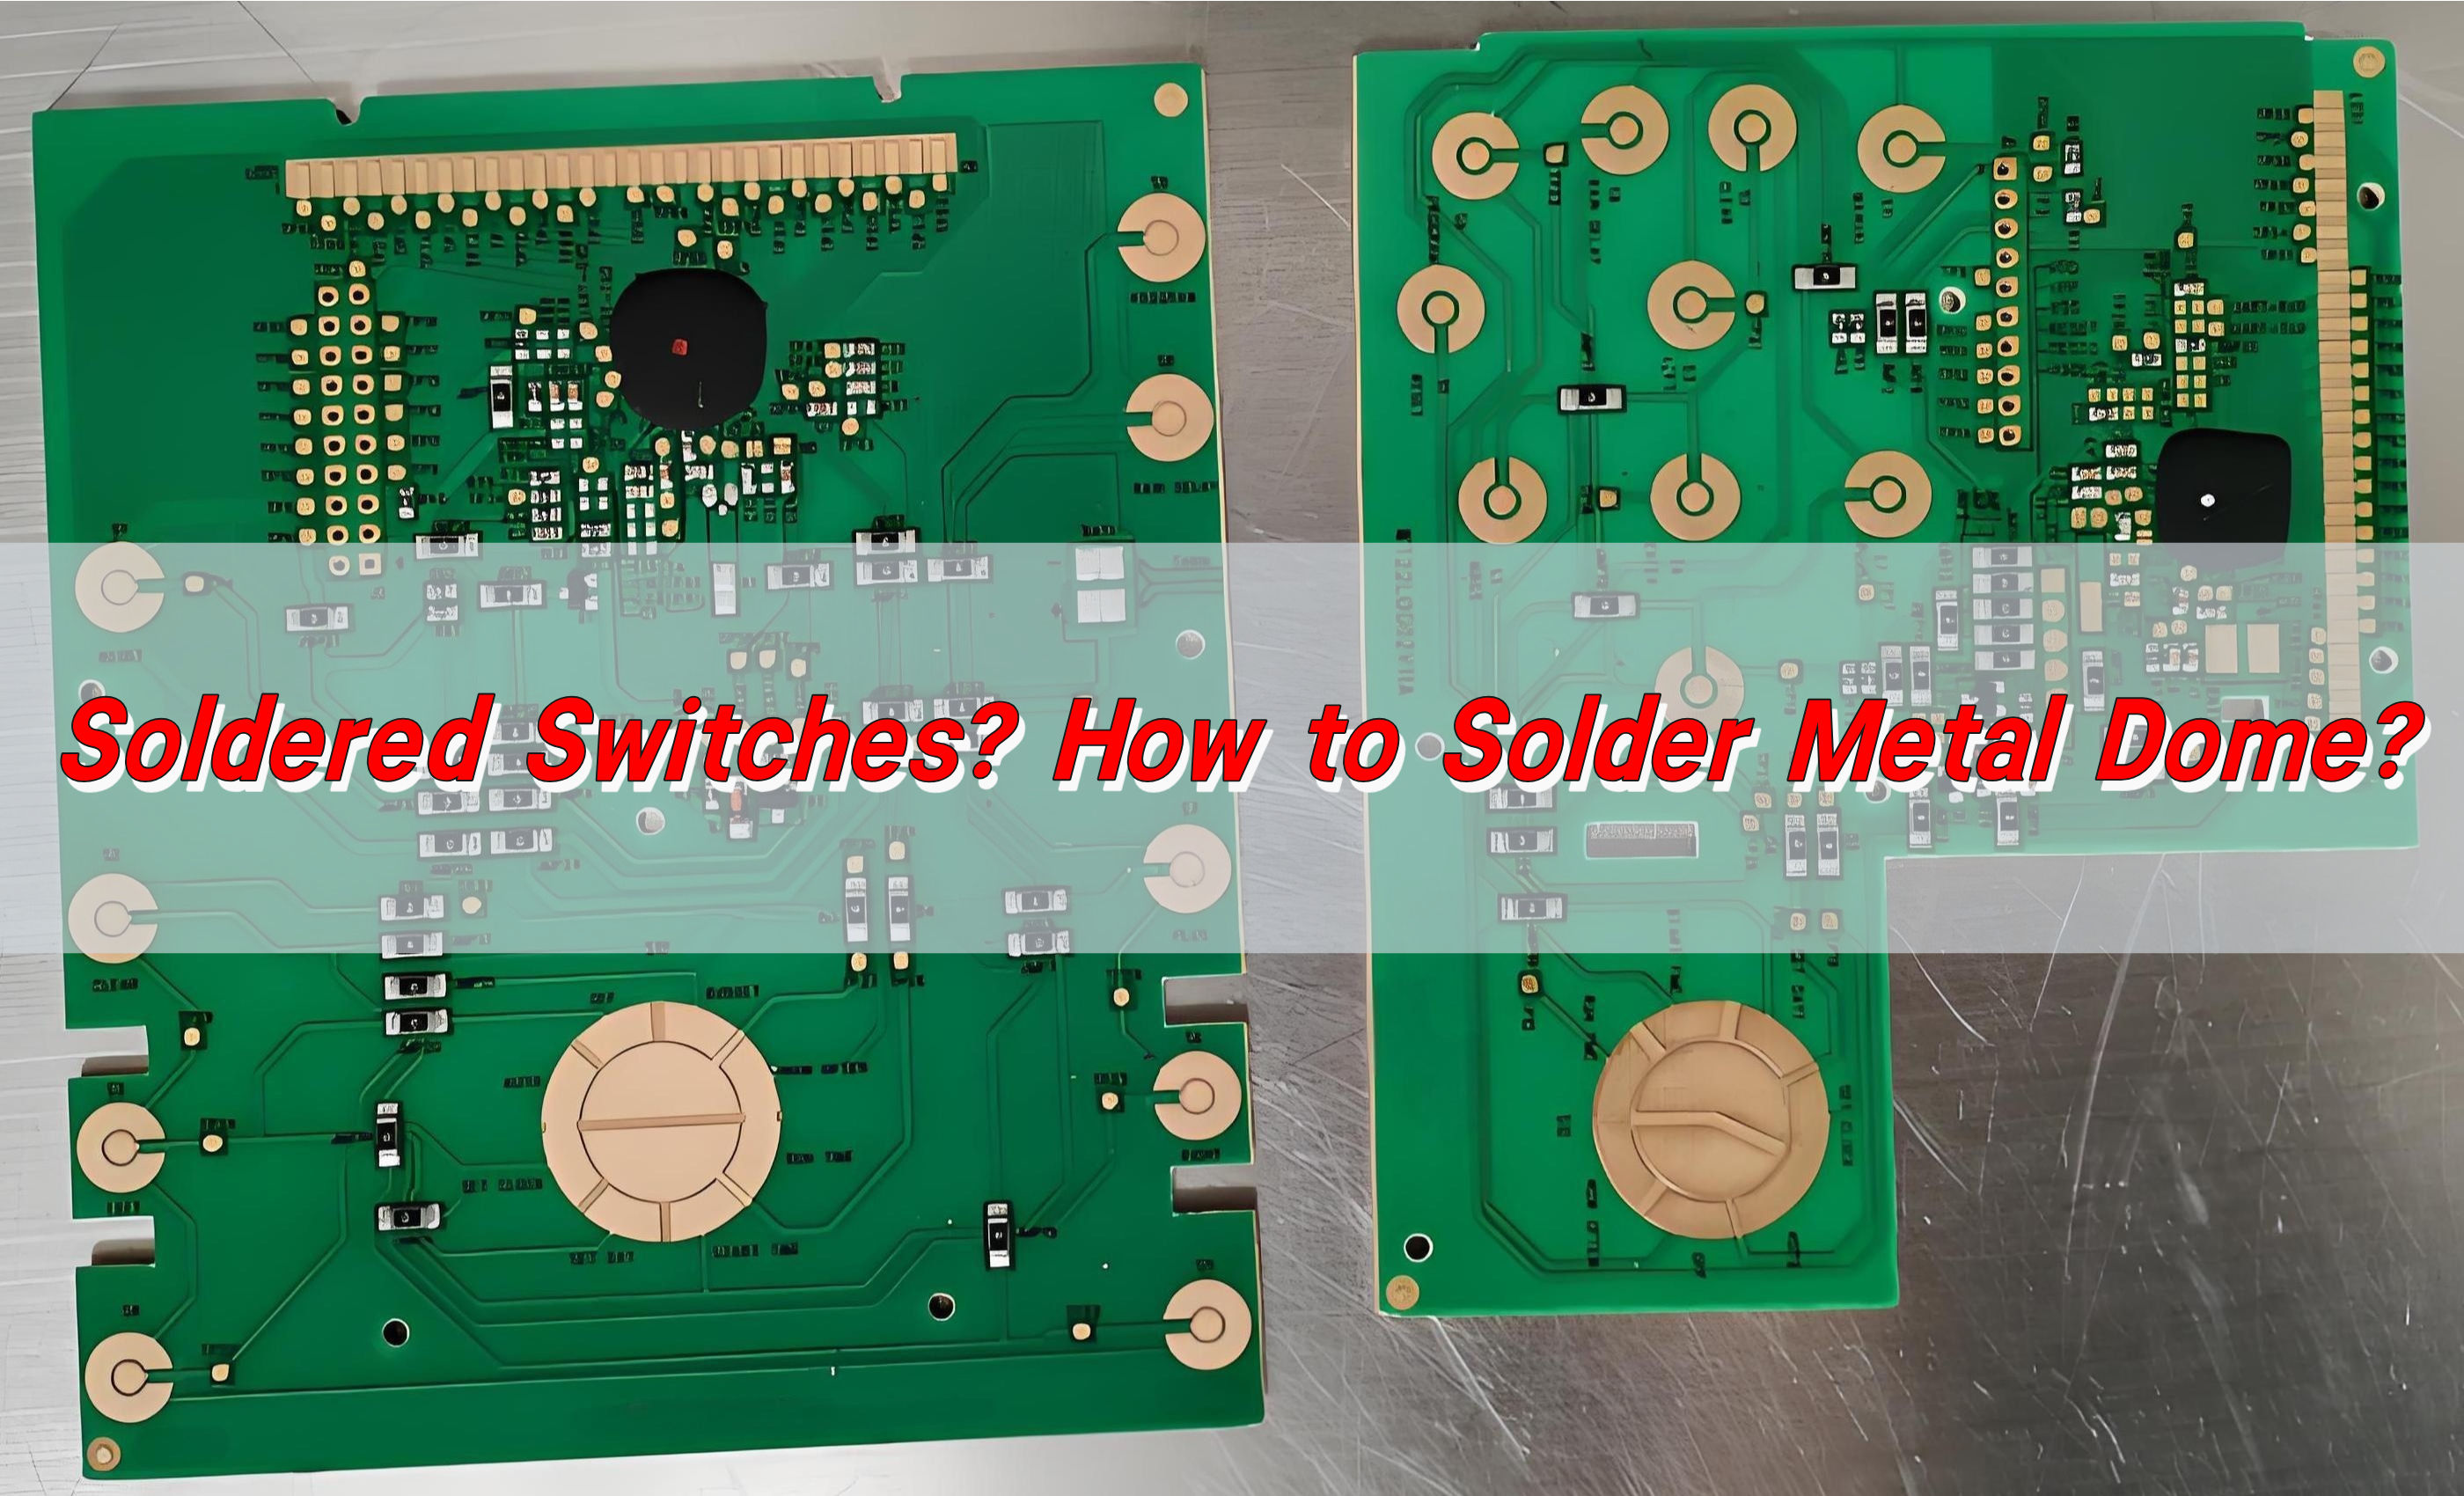
What does soldered switches mean?
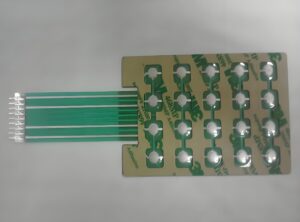
Soldered switches refer to switches that have metal domes permanently attached through soldering. Unlike snap domes placed on a circuit without permanent bonding, these domes become an integral part of the switch. This ensures a firm, lasting connection.

Soldering metal domes provides stability and enhances performance. It prevents movement, reducing the chances of failure due to displacement. This method is commonly used in high-precision applications where consistency matters.
How to solder metal dome to PCB?
Soldering metal domes requires precision and the right technique. Here’s how it’s done:
- Prepare the PCB and Dome: Ensure the PCB is clean and free of dust. Place the metal dome in the designated position.
- Apply Flux: A small amount of flux helps the solder flow properly. It improves adhesion and prevents oxidation.

- Heat the Soldering Iron: The right temperature is crucial. Set the iron to around 280-350°C, depending on the materials.
- Apply Solder: Use a small amount of solder to attach the metal dome. Be careful not to use too much, as excess solder can cause shorts.
- Check the Connection: Once cooled, inspect the solder joint. It should be smooth and shiny, indicating a solid bond.
- Test the Switch: Before assembly, test the switch to ensure it functions correctly. Poor soldering can cause unreliable actuation.
Using the right technique ensures a long-lasting and stable connection. Precision is key.
Are the solder methods for different types of metal dome the same?
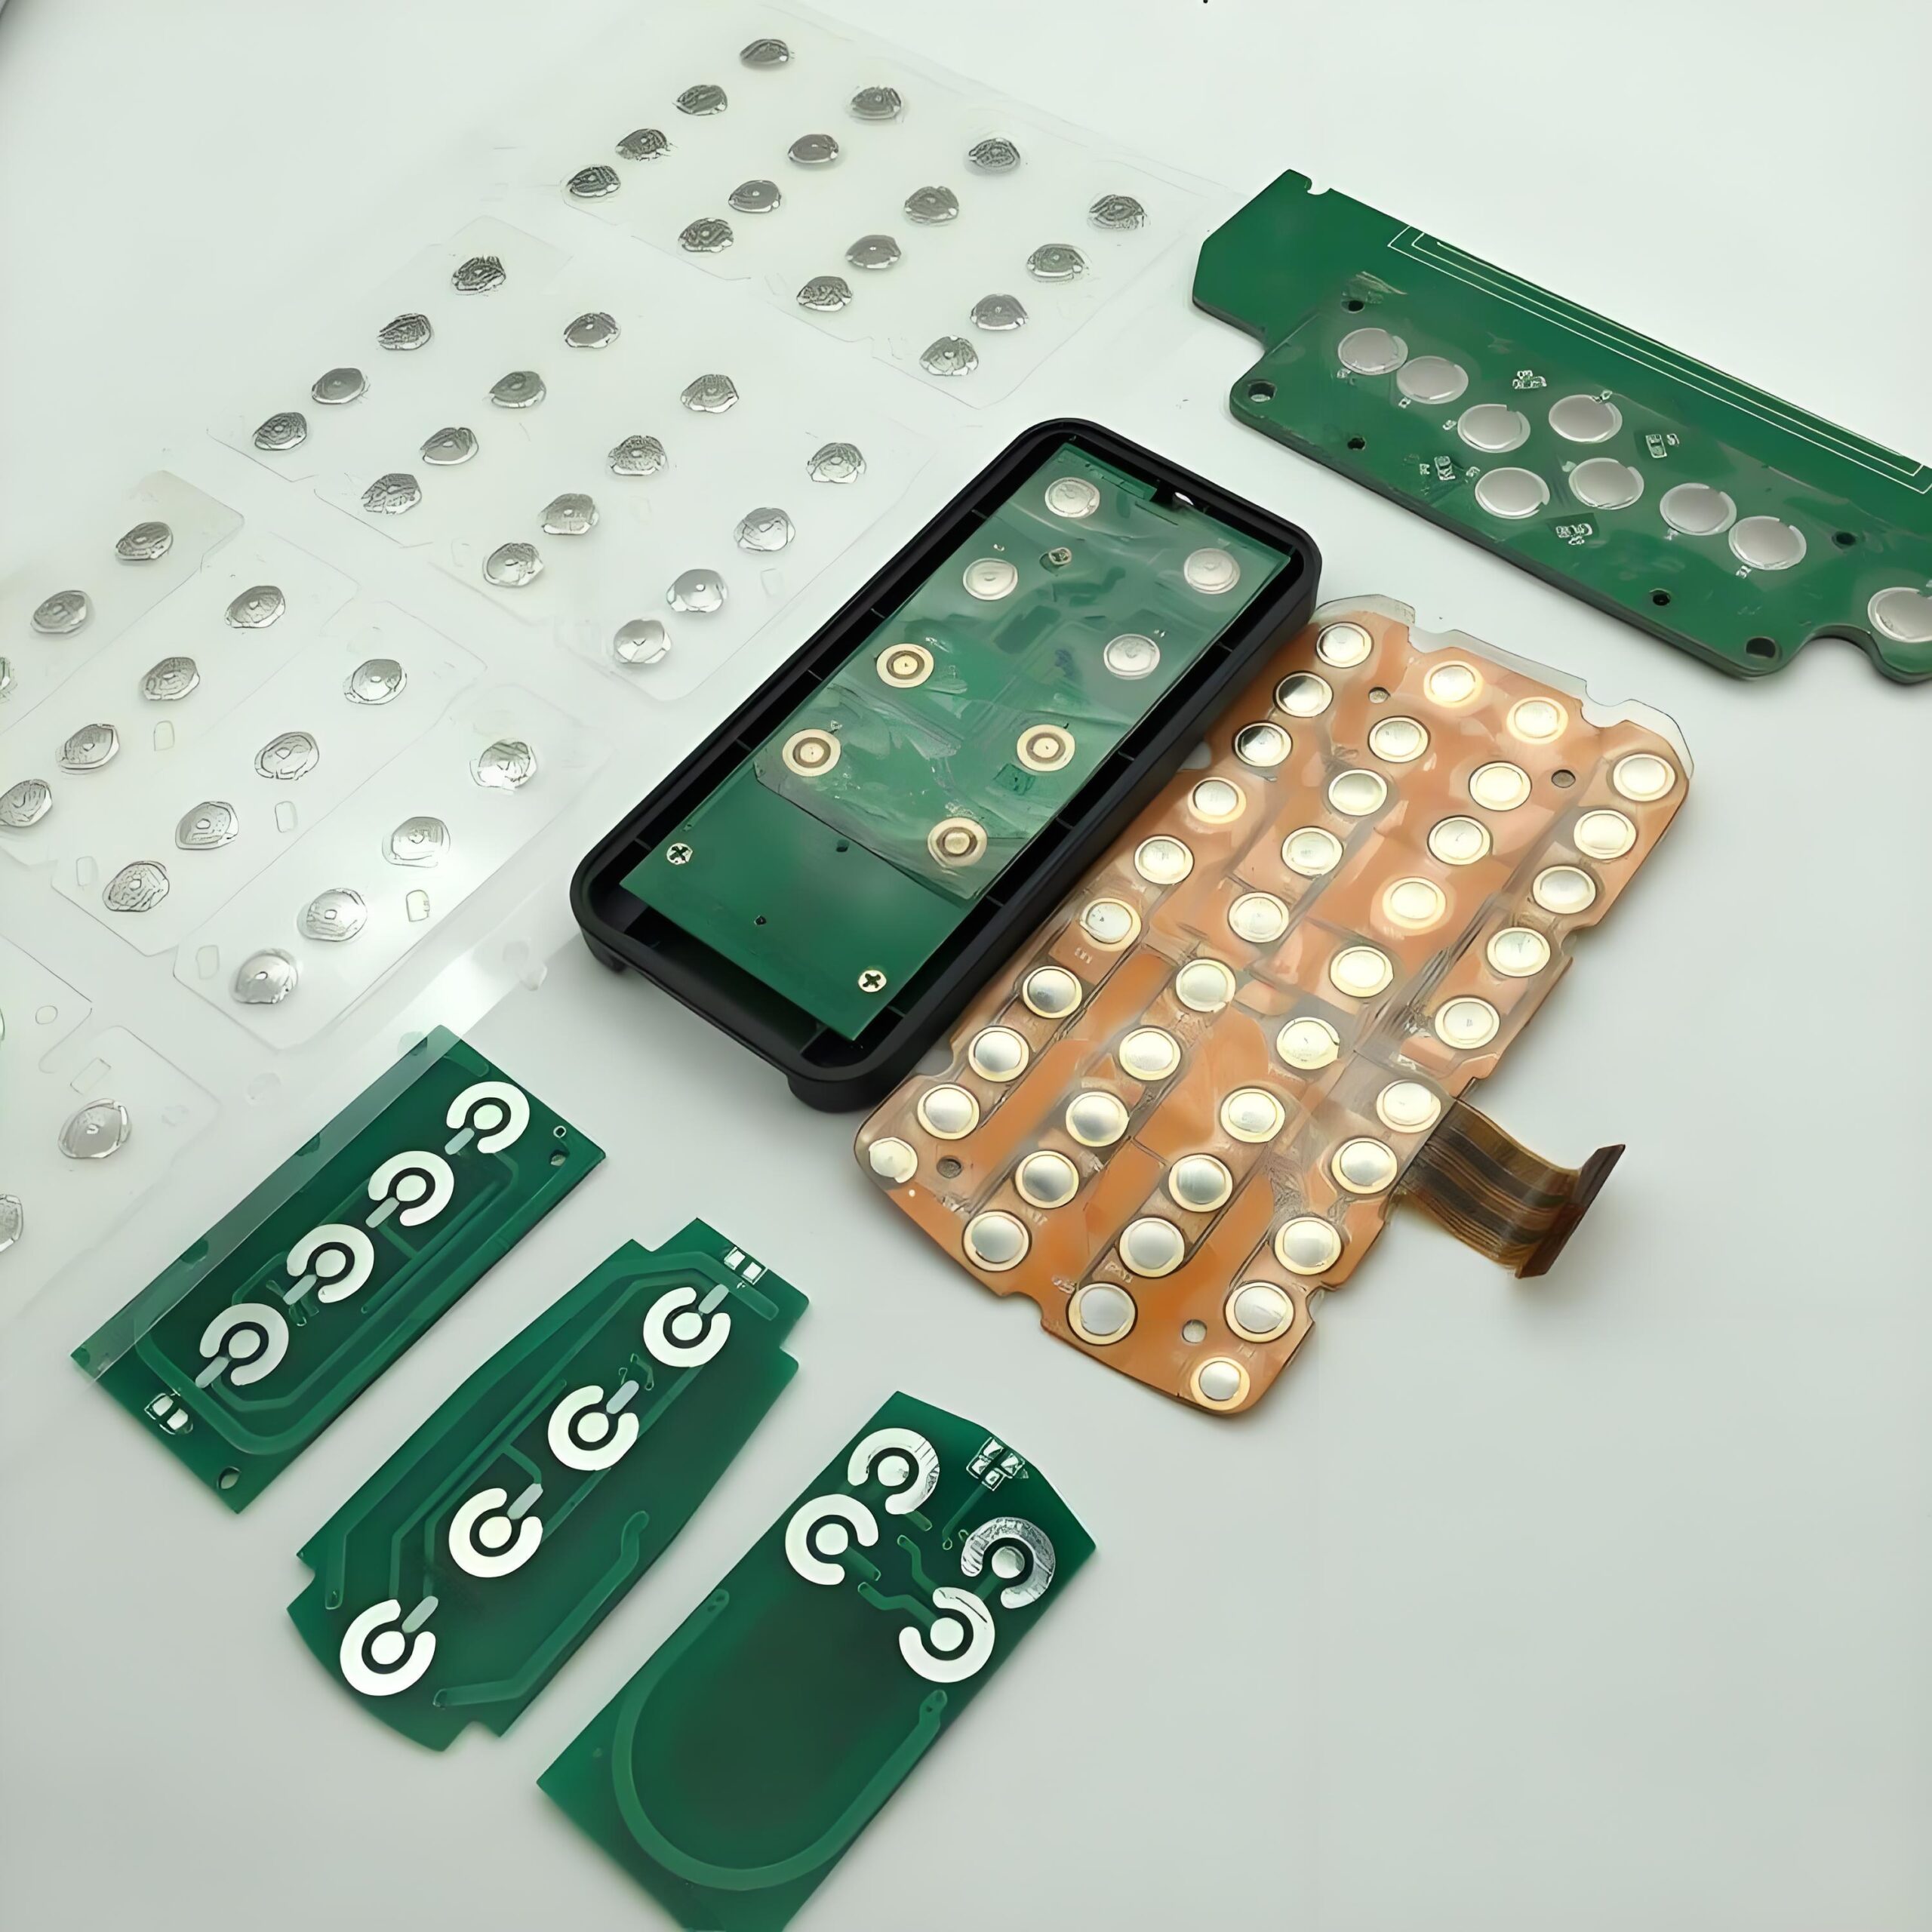
Not all metal domes are soldered the same way. The method varies based on dome shape, size, and material.
- Standard Metal Domes: Typically require direct soldering with minimal heat.
- Gold-Plated Domes: Need extra care, as excessive heat can damage the plating.
- Four-Legged Domes: Offer multiple soldering points, providing enhanced stability.
- Dimple Domes: Require precise solder application to avoid altering actuation force.
Each type demands a specific approach to achieve optimal performance. Using improper soldering techniques can affect functionality and lifespan.
What is the advantage of soldered switches?
Soldering metal domes onto switches offers several key advantages:
Increased Stability: The dome remains securely in place, reducing failures.
Longer Lifespan: Strong solder joints prevent wear and tear caused by movement.
Better Conductivity: A direct solder connection enhances electrical performance.
Higher Reliability: No shifting means consistent actuation, crucial for high-precision applications.
Resistance to Environmental Factors: Dust, moisture, and vibration have less impact on a soldered switch.
These benefits make soldered switches a preferred choice in industries demanding durability and precision.
Which is a disadvantage of soldering switches?
Despite the benefits, soldered switches have some drawbacks:
Difficult to Replace: Unlike hotswap switches, soldered ones require desoldering for repairs.
Requires Skill: Poor soldering can lead to bad connections or damage.
Less Flexibility: Once soldered, customization is limited.
However, with the right tools and expertise, these issues can be minimized. The durability of soldered switches often outweighs these disadvantages.
How to lube soldered switches?
Lubricating soldered switches can improve their feel and longevity. Here’s how to do it:
Disassemble the Switch: Remove the keycap and carefully open the housing.
Identify Friction Points: Focus on the contact areas where metal parts interact.
Apply Lubricant: Use a high-quality switch lubricant. Avoid over-application, as excess lube can interfere with electrical contact.
Reassemble and Test: Put everything back together and check for smooth operation.
Lubing reduces friction, making keystrokes smoother and quieter. It also extends the life of the switch.
How to remove soldered switches?
Removing soldered switches requires care and the right tools:
- Heat the Soldering Iron: Set it to the appropriate temperature to melt the solder without damaging components.
- Apply Desoldering Wick or Pump: Use a desoldering wick to absorb the molten solder, or a pump to suction it away.
- Gently Remove the Switch: Once the solder is cleared, carefully lift the switch without forcing it.
- Clean the PCB: Remove any residual solder or flux to prepare for a new switch.
Proper desoldering prevents damage and ensures a smooth replacement process.
What is the difference between hotswap and soldered switches?
Hotswap and soldered switches have key differences:
- Installation: Hotswap switches can be replaced easily without soldering. Soldered switches require permanent attachment.
- Durability: Soldered switches provide a more secure and stable connection. Hotswap sockets can wear out over time.
- Customization: Hotswap switches allow quick changes, while soldered switches require desoldering for modifications.
Hotswap switches offer convenience, while soldered switches excel in reliability and longevity. The choice depends on the application and user preference.
Conclusion:
Soldered switches provide a stable, reliable, and long-lasting solution for many electronic applications. Proper soldering ensures durability and consistent performance. While they require more effort to modify or repair, their advantages often outweigh the downsides.
For high-quality metal domes and expert guidance, contact sales@metal-domes.com