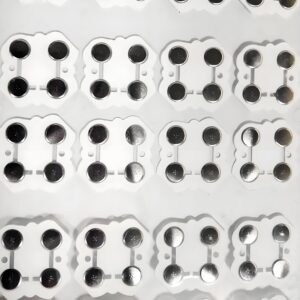
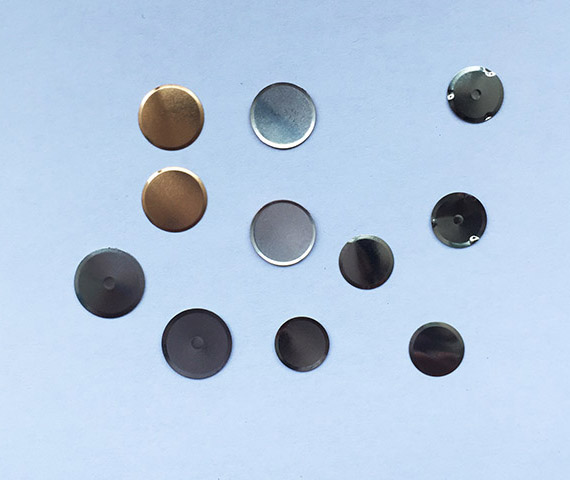
As we all know, a lot of products can use metal domes. Some customers will buy bare metal domes, then they assemble themselves, and also have many customers letâs make it as metal dome array (metal dome with adhesive together), then they only need to paste to the products directly. itâs easy and convenient to operation(https://www.metal-domes.com/blog/2013/08/01/how-to-assemble-metal-dome-array-on-pcb/. But some customers may not know how to assemble the metal dome into the Mylar (also named cover layer or dome retainer) and are interested in it, today Iâll tell you the answer to this question, hope itâs helpful for you.
Our company could custom design Metal Dome Array, and one of the process for making dome array is to assemble metal dome, which is attached to the Mylar (cover layer or dome retainer). We have two method to assemble it, today Iâd like to introduce one method: Semi-automatic rocking machine, Please see below detailed introduction.
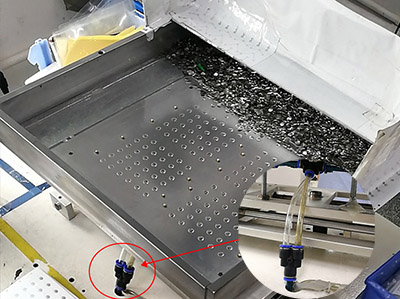
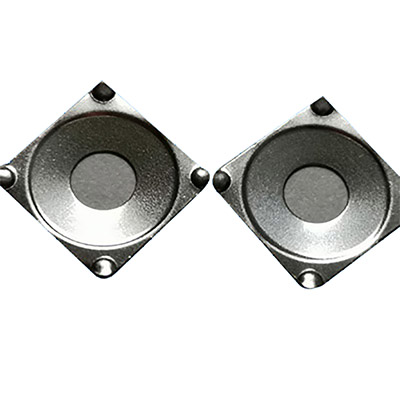
Semi-automatic rocking machine: This is done by shaking the metal dome into a assembly fixture and then manually attaching the Mylar (cover layer or dome retainer) to it. the metal domes is shaken around 6-8 s. and different shapes of metal domes is set for different shake time. For example, the circle metal dome is 6s, and the four-leg metal dome is 8s. the number of metal domes put into the machine at a time is about 20k.
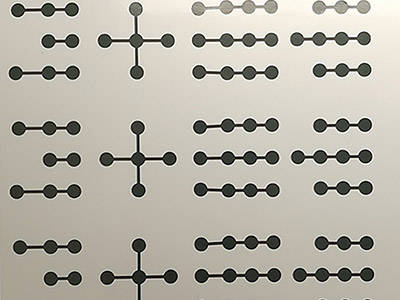
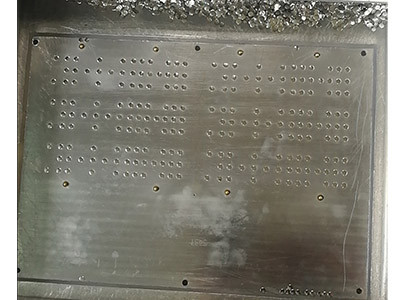
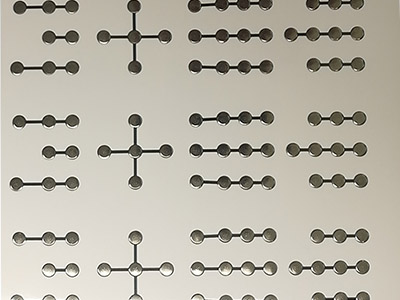
The assembly fixture should be customized according to the customerâs product drawing with dome positions, then metal domes in the fixture can be coincident with domes hole of the spacer. then assemble the domes into the Mylar (cover layer or dome retainer).
In addition, maybe you will have a question, why the metal domes fell into the fixture hole automatically by shaking, but they donât move and shift. Because there are a lot of small tubes and suction vents under the fixture, it can suck the domes in and stick it in the right place.
Wish you have understood how to assemble Metal Dome into the Metal Dome Array after reading this article. Iâll continue with the second assembly method in the next time, if you are interested in it, welcome to continue reading.


