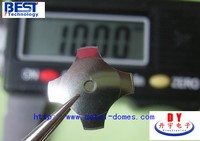
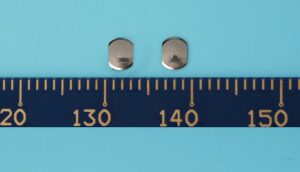
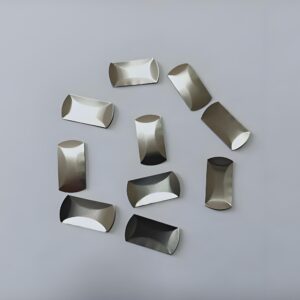
We have discussed assemble metal dome on PCB before, see “How to make the metal dome array to stick on the PCB firmly?”), but more and more customers asking for more details, plus pictures showing how to install various triangle metal dome, with and without legs. So we wrote an article plus some additional information and hope customers will understand the way more better.
Firstly, let us have a overlook at the specification of the triangle series metal dome. From the picture, you will see it includes four basic types: no leg, short leg, medium leg and long leg.
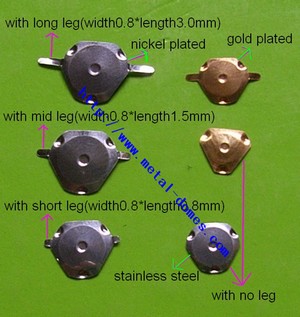
The metal dome leg length divides into three basic series: 0.8mm, 1.5mm, and 3.0mm. We also have a special one which is 2.4mm. Of course, we can customize special leg length of metal dome, please contact us directly for more details.
Follows are popular questions & feedback from our customers and people in metla dome related forums, we summarize them and think you will understand more clearly.
Question #1: We want to solder a the triangle metal dome.
Best Tech Answer: For triangle metal dome, we don’t recommend solder it on FPC/PCB or membrane switch. When you press center of metal dome, the domes collapse and make contact with the secondary pathway, thereby closing the circuit. See more how metal domes work : . http://www.metal-domes.com/blog/2006/11/13/how-metal-dome-works/.
So if you solder it, three sides of metal dome cannot be extended as per designed, click feeling will be lessen, force always changed, and life cycles become low, and sometimes, dome will not return to its original position and become broken. We named it as “dead key”.
— to be continued:
How to Assemble Triangle Series Metal Dome on PCB (2)


